How to Mark the First Stitch in Crochet: Easy Methods for Rows and Rounds
Losing track of the first stitch is one of the easiest ways to accidentally add or lose stitches in crochet. This is especially common when you're working in continuous rounds, following a long row, or trying to figure out exactly where the previous round began. The simple solution is to mark the stitch. A crochet stitch marker gives you a clear visual reference point that you can move as your project grows. You can use a locking stitch marker, a piece of contrasting yarn, or even another smooth object that can be safely removed without damaging the fabric. Here's how to mark the first stitch correctly in different types of crochet projects.
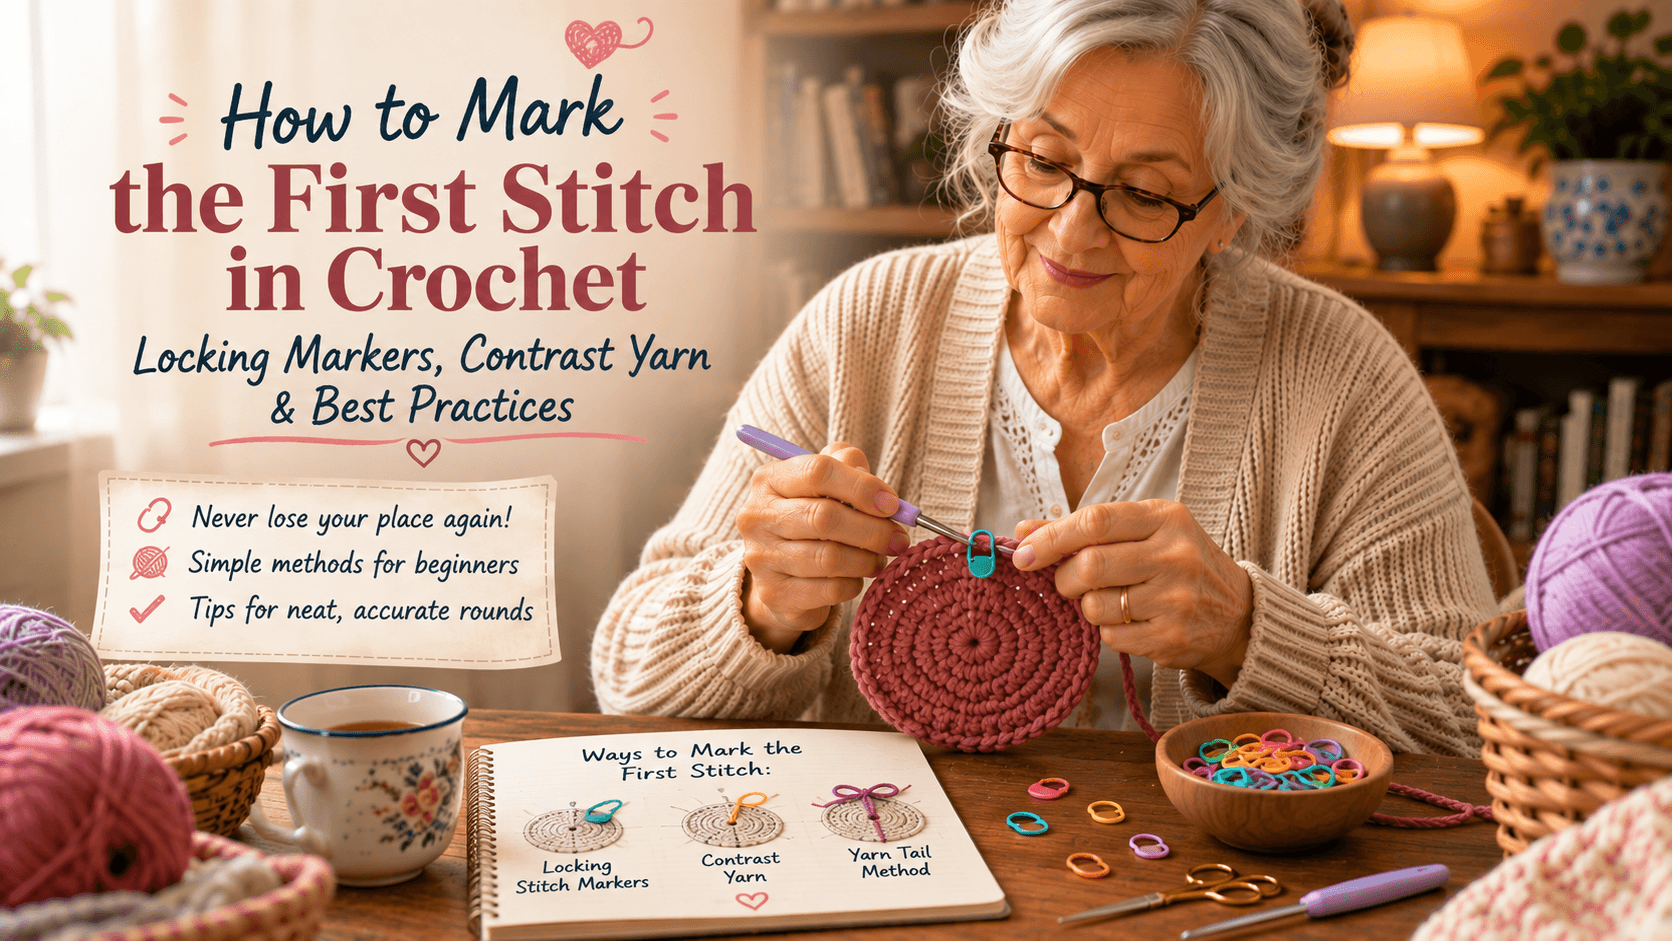
Why Mark the First Stitch in Crochet?
A stitch marker can help you:
- Find the beginning of a round
- Keep track of the first and last stitch in a row
- Avoid accidentally adding or skipping stitches
- Count rows or rounds more easily
- Keep increases, decreases, and color changes in the correct place
- Check whether your stitch count is still correct
You don't need a stitch marker for every project, but using one is particularly helpful when learning crochet or working on a pattern with many repeats.
The Best Crochet Stitch Markers
Locking Stitch Markers
Locking stitch markers are probably the easiest option for most crochet projects.
Unlike closed ring markers, a locking marker can be clipped directly into an existing crochet stitch and removed later. This makes it easy to move the marker from one row or round to the next.
They're especially useful for:
- Continuous spiral rounds
- Amigurumi
- Marking increases and decreases
- Marking the first and last stitch of a row
- Tracking pattern repeats
Choose a marker that contrasts with your yarn so you can spot it quickly.
A Piece of Contrasting Yarn
You don't actually need to buy stitch markers to mark your place.
A short piece of scrap yarn in a contrasting color works well, especially when crocheting amigurumi or other projects in continuous rounds.
Simply place the yarn marker through or around the stitch you want to track, then move it upward as your project grows.
A longer strand can also be woven between rounds as a visual guide, which is sometimes called a running marker.
Other Temporary Alternatives
If you don't have proper crochet stitch markers, you can use something smooth and easy to remove, such as a small safety pin or bobby pin.
Just make sure it is securely placed and doesn't snag delicate yarn.
For projects using very fine yarn, an actual locking stitch marker is usually the safest and easiest option.
How to Mark the First Stitch in a Crochet Row
When crocheting back and forth in rows, marking the first stitch can help you maintain straight edges.
This is particularly useful if you often lose stitches at the beginning or end of a row.
Step 1: Make Your First Stitch
Follow your pattern and work the first actual stitch of the row.
Be careful here: whether the turning chain counts as a stitch depends on the pattern and the stitch being used.
Step 2: Place the Marker Through the Stitch
Insert your locking stitch marker through the top of the stitch you just completed.
You don't need to force the marker under both loops in a particular way. The important thing is that the marker clearly identifies that stitch and can be removed easily later.
Step 3: Crochet Across the Row
Continue working normally.
When you return to that edge on the next row, the marker helps you identify where the first or last stitch should be worked, depending on how your pattern is constructed.
For beginners, you can also mark both the first and last stitch of every row. This makes it much easier to avoid the classic problem of accidentally making a scarf or blanket narrower.
How to Mark the Beginning of a Continuous Crochet Round
This is where stitch markers are especially useful.
In continuous rounds, you do not join the end of the round with a slip stitch. Instead, you continue directly into the next round, creating a spiral.
Because there is no obvious seam, it can become difficult to see exactly where one round ends and the next begins.
Step 1: Work the First Stitch of the Round
Complete the first stitch according to your pattern.
For amigurumi, this is often a single crochet.
Step 2: Insert the Stitch Marker
Place your marker through that first stitch.
This marks the beginning of the round.
Step 3: Crochet Around Normally
Continue crocheting until you reach the marked stitch.
Your pattern's stitch count tells you when the round is complete.
Step 4: Move the Marker Up
After completing the round, remove the marker and place it in the first stitch of the new round.
Then continue repeating this process.
The key is simple: the marker moves upward with your project.
How to Use a Running Yarn Marker in Crochet
A running yarn marker is useful when you don't want to constantly open and close a plastic stitch marker.
Start with a piece of scrap yarn in a color that clearly contrasts with your project.
Place it to mark the beginning of the round, then bring the strand upward as you continue crocheting. As the project grows, the contrasting yarn creates a visible line that helps you track your position.
This method can be particularly useful for:
- Amigurumi
- Tight single crochet fabric
- Dark-colored yarn
- Large projects with many spiral rounds
One important point: the exact way you carry the yarn marker can vary. Follow the method that keeps the marker visible without accidentally trapping the yarn permanently inside your stitches.
What if the Turning Chain Counts as a Stitch?
This is where many crocheters get confused.
Some patterns instruct you to treat the turning chain as the first stitch of the row. Other patterns specifically tell you that it does not count as a stitch.
Always follow the pattern's instructions.
If the turning chain counts as the first stitch, you can place a marker in the chain that represents the top of that stitch. When you return across the next row, the marker helps you identify where your final stitch belongs.
If the turning chain does not count as a stitch, mark the first actual crochet stitch instead.
This small difference can prevent a lot of missing or extra stitches.
Where Should You Put the Stitch Marker?
In most cases, place the marker through the stitch you want to identify.
For example:
- In continuous rounds: mark the first stitch of the round.
- In flat rows: mark the first and/or last stitch if you're struggling with edges.
- For increases: mark the increase location.
- For pattern repeats: mark the beginning or end of the repeat.
- For color changes or shaping: mark the exact stitch specified by the pattern.
There is no need to overcomplicate the placement. The marker's job is simply to help you find the correct stitch again.
Common Stitch Marker Mistakes
Forgetting to Move the Marker
This is probably the most common problem when working in continuous rounds.
Your marker should usually move upward as you complete each new round. If you leave it behind, it will no longer show where the current round begins.
Marking the Wrong Stitch
Take a second to confirm whether your pattern wants you to mark:
- The first stitch
- The last stitch
- The beginning chain
- An increase or decrease
- A specific pattern repeat
Not every pattern uses markers in exactly the same way.
Using a Marker That Blends Into Your Yarn
A dark marker in black yarn or a pale marker in white yarn can disappear surprisingly easily.
Use a contrasting color whenever possible.
Assuming Every Turning Chain Works the Same Way
Turning chains are handled differently depending on the stitch and the pattern designer's instructions.
Instead of relying on a universal rule, check the pattern before deciding whether the turning chain counts as a stitch.
Do You Really Need Crochet Stitch Markers?
No. You can crochet perfectly well without them.
But they are one of the simplest tools for preventing counting mistakes, especially when you're learning.
A small marker can save you from discovering ten rows later that you've accidentally lost three stitches.
For continuous rounds, complicated patterns, shaping, or beginner projects, using a marker is often worth the few extra seconds it takes to place one.
A Simple Habit That Prevents Crochet Mistakes
If you're constantly asking yourself, "Where does this round start?" or "Which stitch is the last one?", make stitch markers part of your routine.
For rows, mark the edge stitches when needed.
For continuous rounds, mark the beginning stitch and move the marker up after each round.
For complex patterns, add markers anywhere the instructions tell you to track a repeat, increase, decrease, or color change.
You don't need dozens of markers everywhere. Just use them where they solve a specific problem.
Final Thoughts
Learning how to mark the first stitch in crochet is a small skill, but it can make your projects much easier to manage.
A locking stitch marker is convenient, contrasting scrap yarn works perfectly well, and even a simple temporary alternative can help when you're in a pinch.
The most important thing is knowing what stitch you're marking and why.
Once you get into the habit of marking the beginning of rounds and tricky edge stitches, you'll spend less time guessing where to insert your hook—and much less time discovering missing stitches later.
Ready to make something?
Put your new skills to use with our free pattern collection.