Why Am I Missing a Stitch at the End of My Crochet Row? 6 Common Causes
You finish a few rows, lay your crochet project flat, and suddenly notice something is wrong. Your rectangle is no longer a rectangle. The sides are slowly leaning inward. Your stitch count is getting smaller. And somehow, you're missing a stitch even though you could swear you followed the same steps on every row. This is one of the most common crochet problems, especially when you're working flat in rows. The good news is that your yarn probably isn't shrinking and your hook isn't the problem. In most cases, you're accidentally skipping one of the first or last stitches of the row. The tricky part is that edge stitches can be surprisingly easy to miss. Turning chains can look like stitches, actual stitches can hide beside the turning chain, and tight tension can make the final stitch difficult to see. Let's figure out exactly where your missing crochet stitch is going.
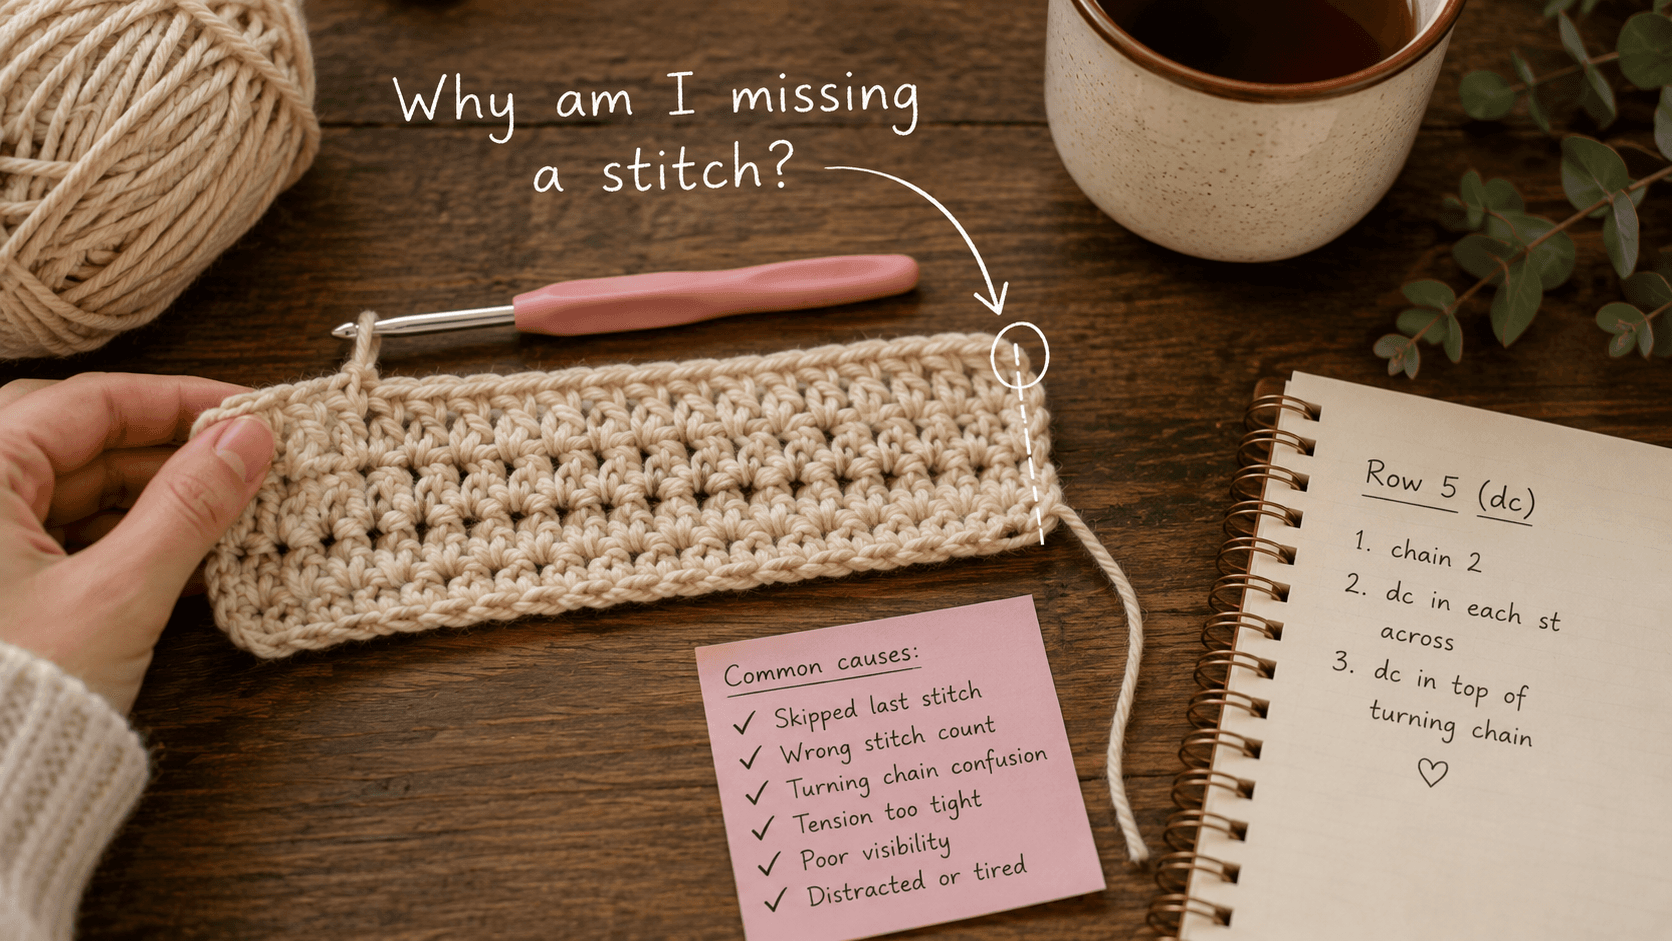
First: Check Your Stitch Count
Before trying to fix the problem, confirm that you're actually losing stitches.
If your pattern says each row should contain 30 stitches, count them after every few rows.
For beginners, I recommend counting every row until your edges become consistent.
If your rows look like this:
- Row 1: 30 stitches
- Row 2: 30 stitches
- Row 3: 29 stitches
- Row 4: 28 stitches
you're almost certainly skipping an edge stitch.
If the number stays the same but the edges still look uneven, the problem may be stitch placement or tension rather than a missing stitch.
A simple stitch marker can make this much easier.
Cause #1: You're Missing the Very Last Stitch
This is probably the most common reason a crochet project slowly gets narrower.
When you reach the end of a row, the final stitch can sit very close to the side edge.
Depending on the stitch you're using and how your turning chain is handled, that last stitch may not look as obvious as the stitches in the middle of the row.
You might think:
“I've reached the edge.”
But there is actually still one more place where your hook needs to go.
The fix
Slow down when you reach the last few stitches.
Instead of crocheting quickly to the edge, stop and look carefully at the final stitch or turning chain specified by your pattern.
Then count your stitches.
If you consistently finish with one stitch less than expected, you now know exactly where to investigate.
A useful habit
Place a stitch marker in the first and last actual stitch of each row.
When you return across the next row, the marker shows you exactly where your edge stitch is.
This is one of the easiest ways to keep crochet edges straight.
Cause #2: You're Skipping the First Stitch After Turning
Sometimes the missing stitch isn't happening at the end of the row at all.
It happens at the beginning of the row.
After you turn your work, the first actual stitch can sit right beside the turning chain.
Depending on your stitch and pattern instructions, it can be easy to mistake that stitch for part of the turning chain and accidentally skip over it.
Then you continue across the row normally.
Everything looks fine.
Until you reach the other side and realize you're one stitch short.
The fix
After turning, identify:
- Your turning chain.
- Whether the pattern says that turning chain counts as a stitch.
- Where the first actual stitch should be worked.
Don't automatically skip the first available stitch.
Follow the specific instructions in your pattern.
Cause #3: You Don't Know Whether the Turning Chain Counts as a Stitch
This is where many crochet edge problems begin.
There is no single rule that works for every pattern.
For example, a pattern might say:
Ch 3 counts as first dc.
In that case, the turning chain is treated as part of the row's stitch count.
Another pattern might say:
Ch 2 does not count as a stitch.
In that case, you should follow the pattern's instructions for where to make the first actual stitch.
This difference also changes where the final stitch of the next row belongs.
The most important rule
Don't assume. Check the pattern notes.
Before starting a project, look for instructions such as:
- Turning chain counts as a stitch.
- Turning chain does not count as a stitch.
- Beginning chain counts as a stitch.
- Work first stitch in the same stitch.
These small notes can completely change how you handle your edges.
Cause #4: Your Last Stitch Is Hidden
Sometimes you're not technically forgetting the last stitch.
You simply can't see it.
This is especially common when:
- Your yarn is dark.
- Your tension is very tight.
- You're using textured yarn.
- Your edge stitches are crowded.
- You're crocheting quickly.
The final stitch can blend into the edge of the fabric and become difficult to identify.
Then, when you turn, you unknowingly work into the wrong place.
The fix: Mark the edge before you turn
When you make the last actual stitch of a row, place a locking stitch marker through it.
Then turn your work.
When you crochet back toward that edge, the marker will show you where the final stitch should be worked.
Once you've reached the marked stitch, you know you've reached the edge.
For many beginners, this is much easier than trying to visually identify a hidden end stitch every single row.
Cause #5: You're Adding or Losing Stitches Because of the Turning Chain
Turning chains can create confusion at both edges.
Let's imagine your pattern uses a turning chain that counts as a stitch.
At the beginning of the row, that turning chain is part of your stitch count.
When you work back across the row, the final stitch may need to be worked into the top of that turning chain, depending on the pattern's instructions.
If you ignore it, your stitch count can decrease.
On the other hand, if the turning chain doesn't count as a stitch and you accidentally treat it like one, you could add an extra stitch.
That's why your edges may sometimes get smaller and other times wider.
If your stitch count keeps changing
Write this down before you start:
Turning chain: counts / does not count
Then follow that same instruction throughout the project.
Cause #6: You're Not Counting Until the Problem Becomes Too Big
A missing stitch is much easier to fix after one row than after twenty rows.
If you don't count regularly, your project can slowly turn from a rectangle into a trapezoid before you even notice what happened.
This is especially frustrating with:
- Blankets
- Scarves
- Dishcloths
- Panels
- Garment pieces
A better system
For the first several rows of a project:
- Count every row.
- Mark both edge stitches.
- Check whether your turning chain counts.
- Compare your stitch count with the pattern.
Once your edges become consistent, you can count less often if you're comfortable.
But if you notice your project starting to narrow, start counting again immediately.
How to Keep Your Crochet Edges Straight
If you regularly lose stitches at the edge, try this simple method.
Step 1: Count your foundation row
Write down the correct number of stitches.
Step 2: Mark both edges
Place stitch markers in the first and last actual stitches.
Step 3: Turn according to the pattern
Pay attention to whether the turning chain counts as a stitch.
Step 4: Crochet normally
Work across the row.
Step 5: Stop at the marker
When you reach the marked edge stitch, work the stitch as instructed.
Step 6: Count again
Make sure you still have the correct number of stitches before continuing.
You don't need to use stitch markers forever.
But they can help train your eyes to recognize where the real edge stitches are.
What If You've Already Lost a Stitch?
First, don't panic.
Look back and find the first row where the stitch count changed.
If it only happened recently, unraveling a row or two may be the cleanest solution.
If the mistake happened many rows ago, you have a few options.
Option 1: Frog back to the mistake
This is usually the cleanest option if straight edges and an exact stitch count are important.
Option 2: Add an increase
If the pattern allows it, you may be able to add an increase to restore the stitch count.
However, don't assume this will be invisible.
Adding two stitches into one location can change the fabric slightly, so choose a place where the adjustment won't be noticeable or where the pattern naturally includes increases.
Option 3: Adjust later with a border
For some blankets, scarves, and simple projects, a border can visually improve minor edge irregularities.
However, a border doesn't always solve a major stitch-count problem.
If your project is becoming noticeably narrower, fixing the missing stitches is usually the better option.
A Quick Edge Troubleshooting Table
| What you see | Most likely cause | What to check |
|---|---|---|
| Project gets narrower every few rows | Missing an edge stitch | First and last stitch placement |
| You are always one stitch short | Skipping the same edge stitch | Turning chain and final stitch |
| Stitch count sometimes increases | Adding an extra edge stitch | Whether the turning chain counts |
| First stitch is difficult to identify | Turning chain is confusing | Pattern instructions after turning |
| Last stitch is difficult to find | Hidden or tight edge stitch | Use a stitch marker |
| Edges look uneven but count is correct | Tension or inconsistent stitch placement | Compare your edge stitches |
The Easiest Way to Stop Losing Stitches
If you're tired of asking, “Why am I missing a stitch at the end of my crochet row?”, try using two stitch markers.
Place one in the first actual stitch and one in the last actual stitch of every row.
That's it.
It may feel unnecessary at first, but it removes almost all of the guessing.
As you become more comfortable, you'll start recognizing those edge stitches without markers.
Eventually, you'll be able to crochet across a row and know exactly where the first stitch, last stitch, and turning chain are supposed to be.
And once you stop losing those edge stitches, your rectangles will finally start looking like rectangles again.
Ready to make something?
Put your new skills to use with our free pattern collection.