How to Block Crochet: A Beginner’s Guide to Wet, Steam & Spray Blocking
Finished your crochet project but the edges are curling, your granny squares look wonky, or your stitches aren't sitting as evenly as you'd hoped? Crochet blocking can make a surprisingly big difference. Blocking is a finishing technique used to shape crochet fabric, even out stitches, straighten edges, open up lace, and help individual pieces reach their intended measurements. It is especially useful for crochet granny squares, blankets, shawls, garments, lace projects, and crochet motifs. The good news? You don't need complicated equipment or advanced crochet skills. In this guide, you'll learn how to block crochet, when to use wet blocking, steam blocking, or spray blocking, what tools you need, and how to avoid the most common blocking mistakes.
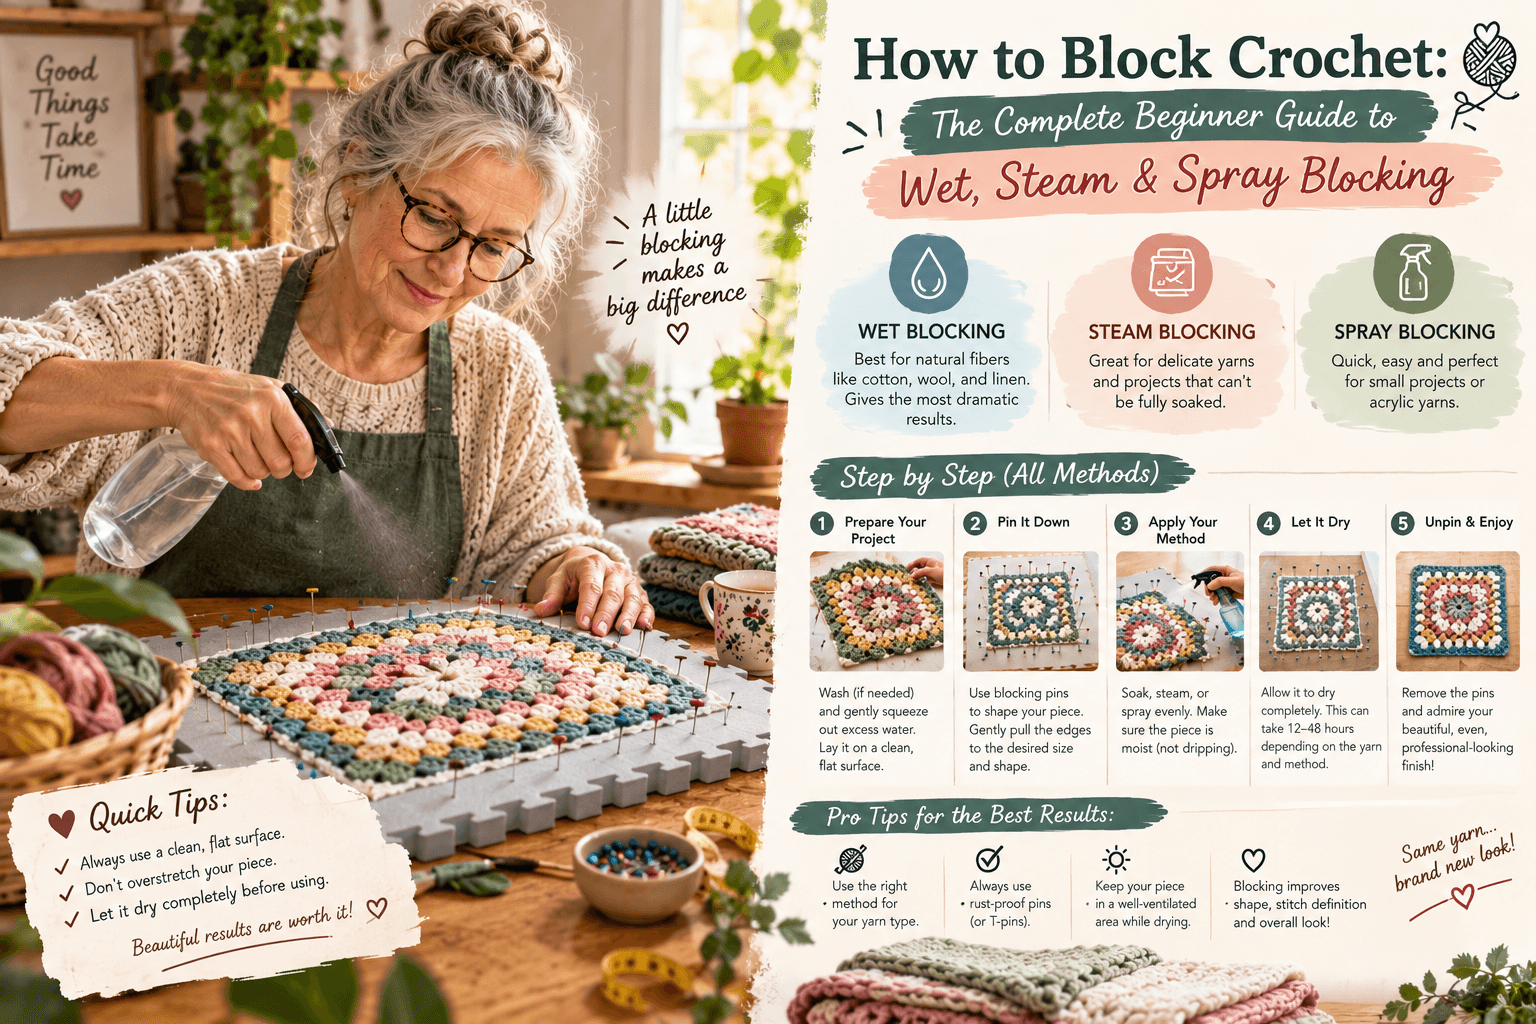
What Is Blocking in Crochet?
Blocking crochet means adding moisture or controlled steam to a finished crochet piece, shaping it to the desired size and form, and allowing it to dry while held in that position.
Think of it as giving your finished crochet project a final reset.
Blocking can help:
Straighten uneven crochet edges
Flatten curling crochet
Make granny squares more uniform
Improve stitch definition
Open up crochet lace
Even out minor tension differences
Shape crochet garments
Help motifs match their intended measurements
Give blankets and shawls a cleaner finished appearance
However, blocking isn't a magic fix for incorrect stitch counts or major construction mistakes. If a square is missing stitches or has an extra round, correct the crochet first. Blocking is mainly for shaping and finishing, not repairing pattern errors.
Wet, Steam or Spray Blocking: Which Should You Use?
Before grabbing your blocking pins, check your yarn fiber and care label.
| Blocking method | How it works | Common uses |
|---|---|---|
| Wet blocking | Soak, reshape and dry | Wool, cotton, linen and many natural-fiber projects |
| Steam blocking | Shape with controlled steam | Wool and some projects requiring more precise shaping |
| Spray blocking | Mist with water and reshape | Delicate projects and light adjustments |
| Acrylic blocking | Usually requires careful heat or gentle shaping | Acrylic projects that need reshaping |
There isn't one universal blocking method for every yarn. Wool, cotton and acrylic respond differently to moisture and heat, so always consider the fiber before blocking.
Important: Acrylic can be permanently altered by excessive heat. If you're using steam on acrylic yarn, keep the heat source above the fabric rather than pressing a hot iron directly onto it.
What You Need to Block Crochet
You don't need a huge crochet blocking kit.
For most projects, gather:
Blocking mats or a firm padded surface
Rust-resistant T-pins or blocking pins
Measuring tape
Spray bottle
Clean towel
Basin or sink for wet blocking
Steamer or steam iron for steam blocking
A grid-marked blocking board is particularly helpful when you need accurate measurements, especially for granny squares and crochet motifs.
Don't have a blocking mat?
A clean towel on a suitable flat surface can work for smaller projects. For large crochet blankets, you can also use a larger flat surface where the project can remain undisturbed while drying.
How to Wet Block Crochet
Wet blocking crochet is one of the most useful methods when you need to reshape a finished piece.
1. Check the yarn label
Before soaking anything, find out what your project is made from.
Wool, cotton, linen and blends can respond well to wet blocking, but different fibers have different care requirements.
2. Soak the crochet
Place your finished crochet piece in cool or lukewarm water according to the yarn's care instructions.
Allow the fibers to become thoroughly damp without aggressively rubbing or agitating the fabric.
For wool, avoid unnecessary agitation because it can contribute to felting.
3. Remove excess water
Never aggressively wring or twist wet crochet.
Instead, gently press out excess water and place the project inside a clean towel.
Roll the towel around the crochet and press gently to absorb moisture.
4. Shape the project
Move the damp crochet onto your blocking surface.
Gently stretch and arrange it into the desired measurements.
For a crochet granny square, start with the corners and then straighten the sides.
Use your measuring tape to check that opposite sides are equal.
5. Pin it in place
Secure the corners first, followed by the edges.
Don't aggressively stretch the fabric. The goal is to reshape the crochet, not distort it.
6. Let it dry completely
Leave the crochet pinned until it is completely dry.
Removing the pins too early can allow the fabric to move back toward its original shape.
How to Block Granny Squares
If you're making a granny square blanket, blocking can be particularly useful.
Why?
Even when your crochet tension is consistent, individual granny squares can finish slightly different sizes. When dozens of uneven squares are joined together, those differences can become much more noticeable.
Blocking helps bring your squares closer to the same dimensions and creates straighter edges before joining.
Easy granny square blocking method
Measure the finished square.
Decide on your target dimensions.
Place the square onto your blocking board.
Pin the four corners.
Check that the sides are straight.
Add pins along the edges where necessary.
Apply your chosen blocking method.
Leave the square in place until completely dry.
For multiple granny squares, using identical measurements for every square makes joining much easier.
Some blocking boards are designed with regular holes or pegs specifically to make repeated granny-square blocking faster and more consistent.
How to Steam Block Crochet
Steam blocking is different from wet blocking because you use controlled steam rather than completely soaking the project.
Here's how:
1. Place your crochet on the blocking mat.
Shape it to the measurements you want.
2. Pin the fabric.
Secure the important points and straighten the edges.
3. Apply steam carefully.
Hold your iron or steamer above the crochet and allow the steam to reach the fibers.
Do not press a hot iron directly onto acrylic crochet.
Excessive heat can permanently flatten or alter acrylic fibers.
4. Let the piece cool and dry.
Keep the project pinned until it has completely cooled and dried.
Steam blocking can be useful when you want to relax stitches or adjust the shape without completely soaking the project.
How to Spray Block Crochet
Spray blocking is probably the simplest method to try when you only need a small amount of reshaping.
Method:
Place your dry crochet on the blocking surface.
Shape it to the desired measurements.
Pin the corners and edges.
Fill a spray bottle with water.
Mist the crochet until it is evenly damp.
Smooth and reshape the fabric.
Leave it pinned until completely dry.
Spray blocking is particularly convenient for projects that don't need a full soak and for delicate pieces where you want more controlled moisture.
How to Stop Crochet Edges From Curling
Curling edges are one of the reasons beginners often discover blocking in the first place.
Blocking can help flatten a curled crochet project, but it isn't always the underlying solution.
If your crochet repeatedly curls, check:
Your crochet hook size
Your yarn weight
Your tension
The number of stitches
Your turning chains
Whether the pattern is designed to curl
Whether the fabric needs a border
Forcing heavily curled fabric into shape with excessive blocking isn't always the best answer.
Sometimes the real issue is tight crochet tension or the construction of the pattern.
Does Blocking Make Crochet Bigger?
It can.
When you block crochet, you're deliberately reshaping the fabric, so the finished measurements can change.
This is particularly noticeable with:
Granny squares
Lace crochet
Shawls
Garments
Large motifs
Cotton crochet
Wool crochet
That's why it's useful to measure your project before and after blocking.
If you're making a garment, don't simply stretch it as far as possible. Use the pattern's finished measurements as your guide.
Common Crochet Blocking Mistakes
Mistake 1: Stretching the project too aggressively
Blocking isn't a competition.
Pulling the fabric excessively can distort stitch shapes and create uneven edges.
Mistake 2: Ignoring the yarn fiber
The same blocking method doesn't work equally well for every yarn.
Always check the yarn label before introducing water or heat.
Mistake 3: Using rusty pins
Moisture and metal don't mix well.
Use rust-resistant blocking pins so you don't leave marks on your finished crochet.
Mistake 4: Removing the pins too early
The project needs time to dry and settle into its new shape.
Mistake 5: Expecting blocking to fix crochet mistakes
Blocking can improve shape and consistency, but it won't correct a missing stitch, incorrect stitch count, or fundamentally wrong construction.
Mistake 6: Applying direct heat to acrylic
This is one of the biggest risks when learning how to steam block acrylic yarn.
Keep the heat source above the fabric and use controlled steam rather than pressing a hot iron directly onto your project.
Do You Need to Block Every Crochet Project?
No.
Blocking is especially useful when the finished shape and measurements matter.
You may want to block:
Crochet granny squares
Crochet blankets
Lace shawls
Crochet garments
Sweaters and cardigans
Crochet motifs
Doilies
Lace projects
Pieces that need straighter edges
But items such as many amigurumi projects, baskets, and structured crochet pieces may not need blocking at all.
The Beginner's Blocking Checklist
Before you start, ask yourself:
✓ What fiber is my yarn?
✓ What does the yarn care label recommend?
✓ Do I need wet, steam, or spray blocking?
✓ What size should my finished piece be?
✓ Do I have rust-resistant pins?
✓ Is my blocking surface large enough?
✓ Have I tested the method on a swatch or small piece if I'm unsure?
If you can answer those questions, you're ready to block.
Final Thoughts
Blocking isn't about making your crochet perfect.
It's about helping the fabric you've already created settle into the shape you intended.
A slightly uneven granny square can become noticeably straighter. A lace motif can open up. A curling edge can relax. And multiple crochet pieces can become much easier to assemble when their measurements are consistent.
Start with a small project or granny square, use the gentlest method appropriate for your yarn, and let the piece dry completely before removing the pins.
Once you see the difference before and after blocking crochet, it becomes one of those finishing techniques you'll want to keep in your crochet toolbox.
Quick Answer
What is the best way to block crochet?
It depends on the yarn. Wet blocking is commonly used for natural fibers such as wool and cotton, while spray blocking provides gentle moisture and steam blocking can be useful when controlled heat is appropriate. Always follow the yarn's care instructions and use extra caution with acrylic because excessive heat can permanently alter it.
Do you have to block crochet?
No. Many crochet projects don't require blocking, but it can make a significant difference for granny squares, lace, garments, shawls, motifs, and projects where precise dimensions and straight edges matter.
Can blocking fix curling crochet?
Blocking can help relax and reshape curling edges, but persistent curling may also be related to crochet tension, hook size, stitch structure, or pattern construction.
Next Steps
Continue Learning
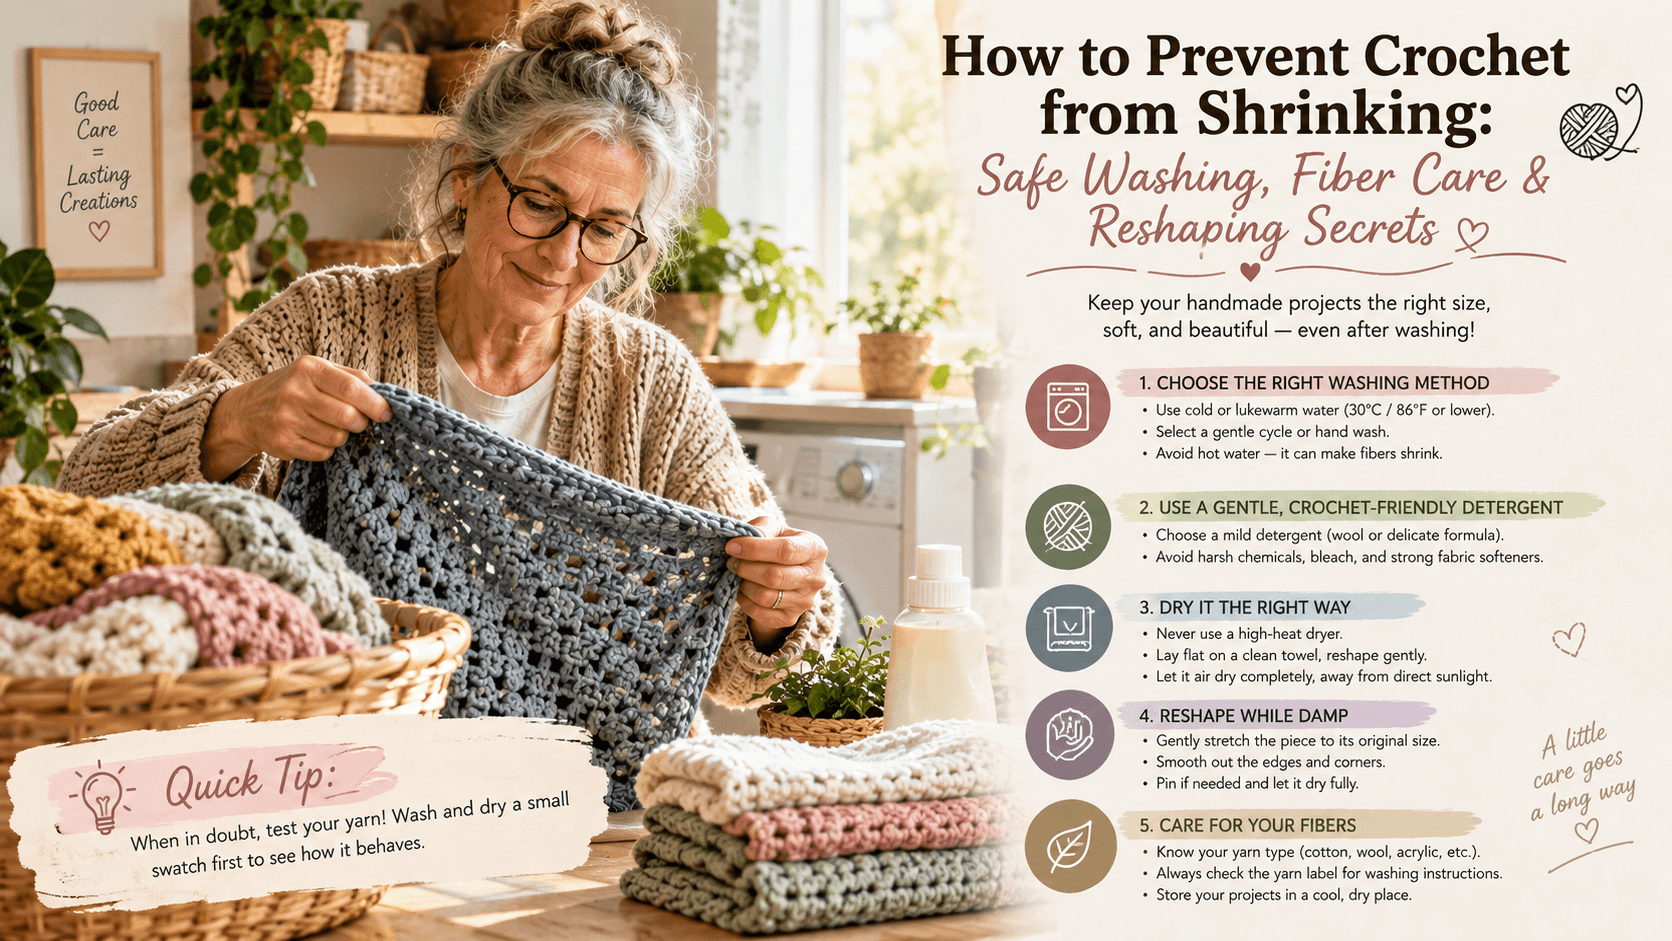
How to Prevent Crochet from Shrinking: How to Wash, Dry & Reshape Crochet Safely
You finally finish a crochet sweater, wash it for the first time—and suddenly the sleeves are shorter, the body feels tighter, or your beautiful blanket no longer has the same dimensions. If you've ever searched “how to prevent crochet from shrinking” or “how do I wash crochet without ruining it?”, the good news is that most problems can be avoided. The key is understanding that crochet doesn't have one universal washing method. Wool, cotton, acrylic, linen, bamboo, and blends can react very differently to water, heat, agitation, and drying. The safest approach is simple: Check the yarn's care instructions, use gentle washing methods, avoid unnecessary heat and agitation, and reshape the crochet while it dries. Here's how to do it.
Read tutorial
Aluminum vs. Ergonomic Crochet Hooks: Which Is Best for Speed, Comfort & Control?
If you have ever crocheted for a few hours and ended up with a tired thumb, stiff fingers, or a sore wrist, your crochet hook might be part of the problem. Traditional aluminum crochet hooks are simple, lightweight, durable, and often inexpensive. They have been a favorite for generations. Ergonomic crochet hooks, on the other hand, use wider, shaped, or cushioned handles designed to make the hook easier to hold during longer sessions. So which is actually better? The honest answer is: there isn't one perfect crochet hook for everyone. Your hand size, grip style, crochet speed, yarn, and the type of projects you make all matter. An ergonomic hook can make a huge difference for some crocheters, while another person may prefer the slim precision of a classic aluminum hook. Let's look at what really changes between the two.
Read tutorial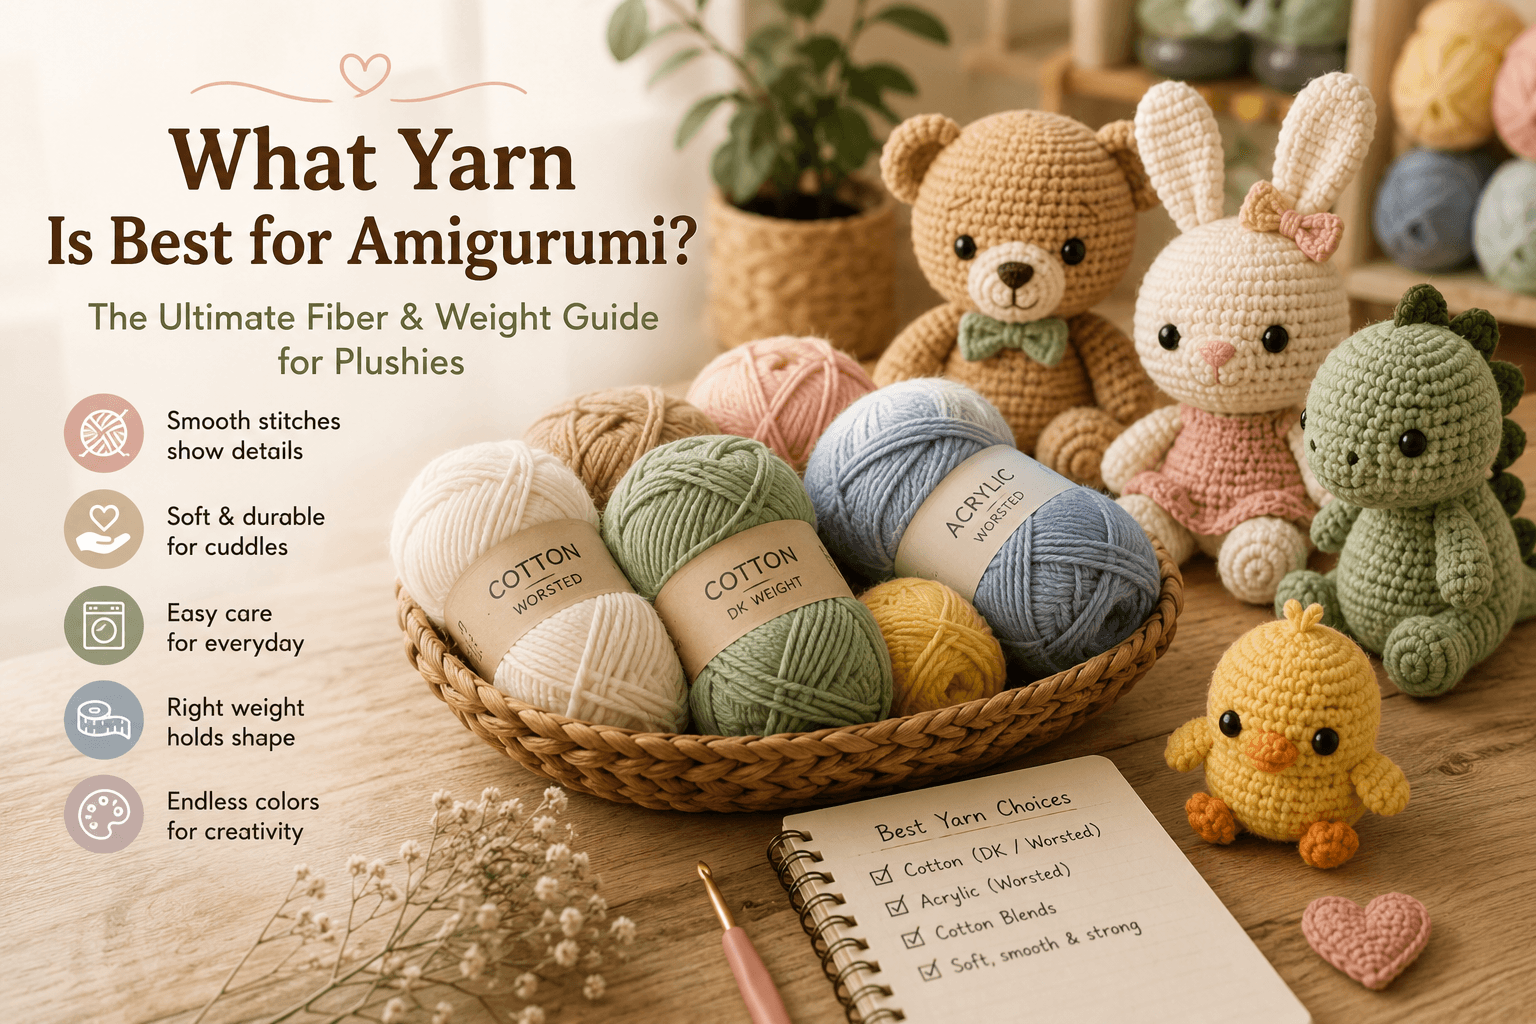
What Yarn Is Best for Amigurumi? The Ultimate Fiber & Weight Guide for Plushies
Looking for the best yarn for amigurumi? The right choice depends on the size of your plushie, how clearly you want your stitches to show, how soft you want the finished toy to feel, and how much stuffing pressure the fabric needs to handle. For most crochet amigurumi, smooth cotton, cotton blends, and acrylic yarn are the easiest choices, while chenille is ideal when you want a soft, oversized plush finish.
Read tutorial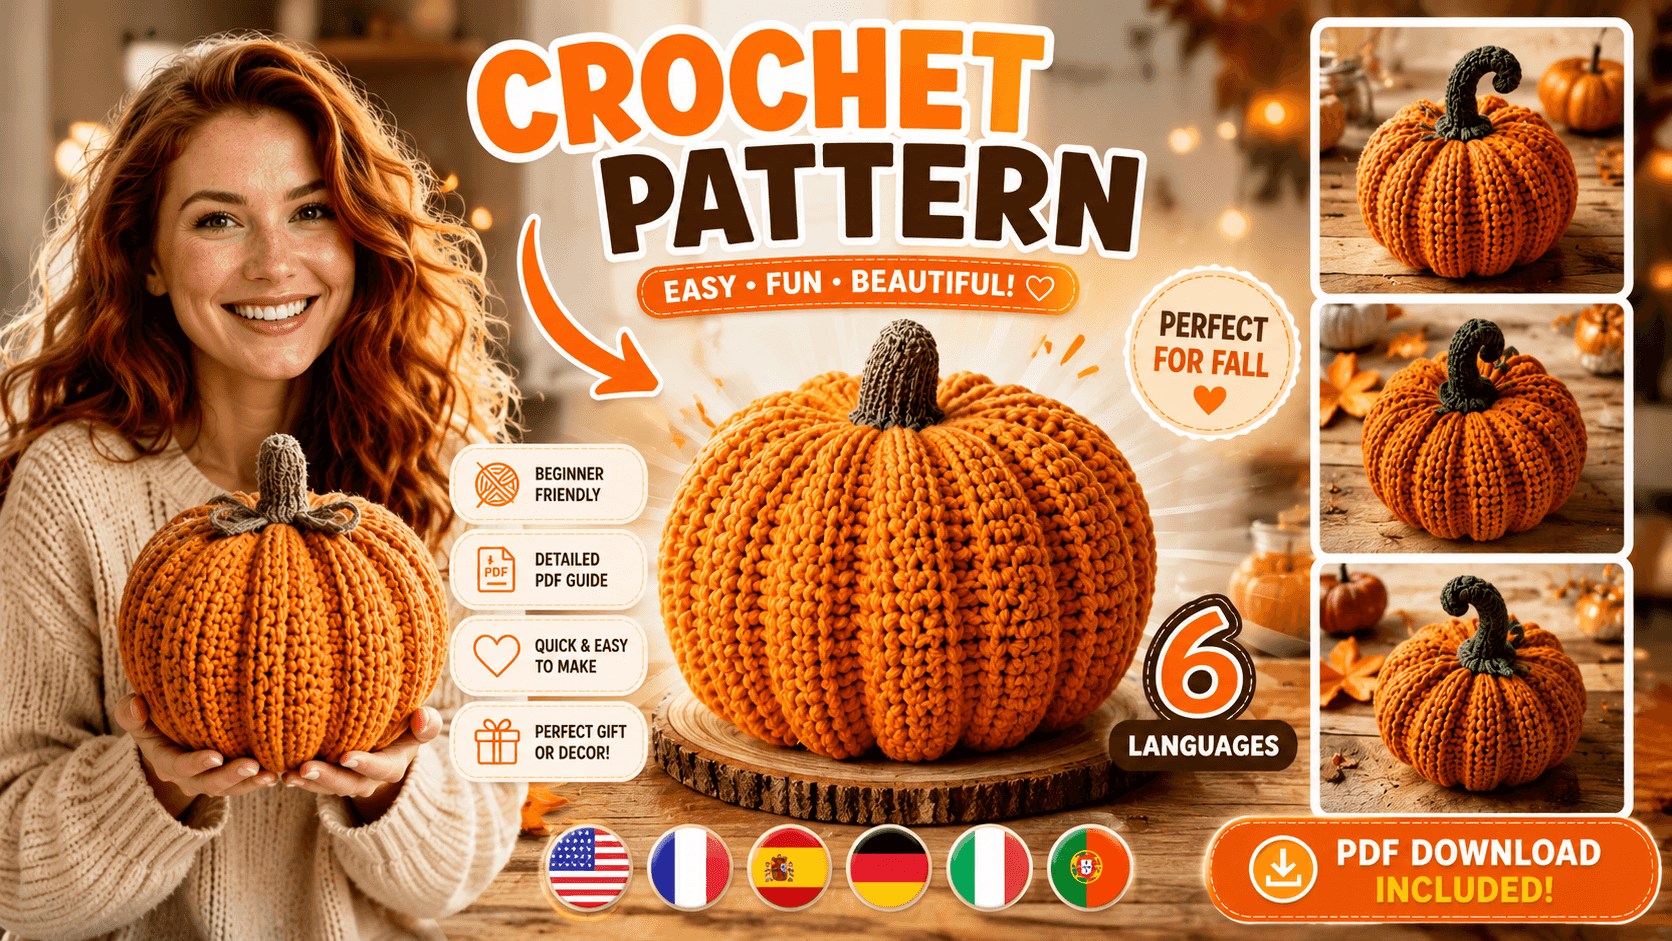
Put It Into Practice
Crochet Pumpkin Pattern | Halloween Pumpkin Amigurumi PDF | Fall Decor Crochet | Easy Pumpkin Pattern
Create cozy seasonal decor with this crochet pumpkin pattern! This easy amigurumi pumpkin PDF includes step-by-step instructions to crochet a charming pumpkin with a separate stem, perfect for Halloween decorations, fall home decor, Thanksgiving, farmhouse decor, and handmade gifts.
View the pattern →