How to Prevent Yarn Splitting When Crocheting: 7 Easy Fixes for Cleaner Stitches
Your hook goes into the stitch, you pull up a loop—and suddenly you've caught only half of the yarn. If you've ever wondered “why does my crochet yarn keep splitting?”, you're definitely not alone. Yarn splitting happens when your crochet hook catches individual plies or fibers instead of the entire strand. The result can be fuzzy yarn, uneven stitches, loose strands sticking out of your work, and a frustrating amount of frogging. The good news? Yarn splitting is usually a combination of yarn choice, hook shape, tension, and technique—not simply a sign that you're doing something wrong. Here are the most effective ways to prevent yarn splitting in crochet and get cleaner, smoother stitches.
First: Why Does Yarn Split When You Crochet?
Most plied yarn is made by twisting multiple strands, called plies, together.
When your hook enters a stitch at the wrong angle—or the yarn has a loose or easily separated construction—the hook can slip between those plies instead of catching the complete strand.
You'll usually notice one of these problems:
Your hook catches only part of the yarn
One strand gets pulled away from the others
The yarn starts looking fuzzy
A loop appears thinner than the rest
Your stitches look uneven
You have to redo the same stitch several times
Some yarns are simply more prone to splitting than others. Single-ply and loosely twisted yarns generally require more care, while tightly plied yarns can be easier to control.
So before changing your entire crochet technique, look at the yarn itself.
1. Choose a Less-Splitting Yarn
This is probably the biggest shortcut.
If you're constantly fighting a particular skein, the problem may not be your crochet technique at all.
For easier crochet, look for yarn with a firm, consistent ply and a smooth surface.
A smooth worsted-weight acrylic is often a forgiving option for beginners, while tightly constructed cotton or cotton blends can also provide excellent stitch definition. Crochet.com, for example, recommends smooth beginner-friendly yarns such as worsted acrylic for learning.
Yarn types that can be easier to crochet
Look for:
Smooth acrylic
Tightly plied cotton
Cotton-acrylic blends
Firmly twisted wool
Consistent multi-ply yarn
Yarn that may be more difficult
Be more cautious with:
Very loose single-ply yarn
Roving-style yarn
Extremely soft, loosely spun yarn
Fuzzy yarn
Mohair and other halo fibers
Some chainette constructions
Very delicate novelty yarns
That doesn't mean these yarns are “bad.”
They're simply less forgiving when you're trying to make precise stitches.
If you're learning crochet and yarn splitting is driving you crazy, switch to a smooth, clearly plied yarn before assuming your technique is the problem.
2. Try a Different Crochet Hook
Your crochet hook can make a surprisingly noticeable difference.
Two hooks with the same millimeter size can have very different head shapes.
One may have a sharp point that easily pushes between the yarn plies. Another may have a smoother, more rounded head that passes through the stitch without catching individual strands.
That's why you may find that one crochet hook constantly splits your yarn while another works perfectly with the exact same skein.
A common recommendation is to try a smooth, rounded crochet hook when working with splitty yarn.
Don't assume a particular brand is automatically better
Instead, look closely at the hook.
Check for:
A smooth hook head
No rough manufacturing seams
A clean transition from head to shaft
A hook throat that catches yarn cleanly
A tip that isn't excessively sharp for the yarn you're using
This is one reason crocheters often develop strong preferences for particular hook brands.
The “best crochet hook for preventing yarn splitting” is ultimately the one whose shape works well with your yarn and your hand movements.
3. Slow Down Your Hook Insertion
Here's a simple fix that costs absolutely nothing:
Slow down.
When you're crocheting quickly, it's easy to push the hook directly through the yarn rather than through the actual stitch.
That is especially noticeable with splitty yarn.
Instead of stabbing into the stitch, consciously identify the loop you're entering.
Then insert the hook through the stitch opening and catch the yarn.
This tiny change can make a major difference.
One of the most common recommendations for how to stop yarn from splitting when crocheting is simply to slow down and pay attention to stitch placement.
Once your hands develop the movement, you can naturally speed up again.
4. Relax Your Crochet Tension
Tight crochet tension can make yarn splitting worse.
When you pull the yarn very tightly, the strand becomes harder to manipulate and the plies can separate more easily when the hook passes through them.
You don't need to crochet loosely.
You simply want enough freedom for the yarn to move around the hook.
Try this:
Before pulling through the stitch, let the loop sit naturally around the shaft of the hook instead of squeezing it tightly against the metal.
Your yarn-holding hand should guide the strand rather than clamp it.
If your stitches are consistently tiny and difficult to insert your hook into, experiment with relaxing your tension or going up slightly in hook size.
5. Try Going Up One Crochet Hook Size
If you've adjusted your technique but your yarn still keeps splitting, test a larger hook.
You don't necessarily need to permanently change your pattern.
Simply make a small swatch and see what happens.
For example:
Current: 4.0 mm hook
Test: 4.5 mm hook
A slightly larger hook creates a little more room for the yarn to move through the stitch and may make insertion easier.
This can be particularly helpful if you're naturally a tight crocheter. Crochet resources commonly recommend trying a larger hook when tight tension contributes to splitting.
But there's a catch
If you're following a pattern that depends on a particular gauge, changing hook size changes the fabric.
So don't automatically use the larger hook for the finished project.
Use it as a troubleshooting test.
If the larger hook eliminates the splitting, you can then decide whether your original hook size, tension, or yarn needs to change.
6. Pay Attention to How Your Yarn Is Unwinding
Here's a less obvious cause of splitty yarn:
The strand can gradually change its twist as you work.
This can be particularly noticeable with some loosely spun or highly twisted yarns.
As you crochet, the working yarn is repeatedly moved, pulled, and rotated. Depending on the yarn construction and how you handle it, the strand can become more relaxed or more twisted.
If you notice the yarn becoming increasingly loose and separated as you work, stop for a moment.
Let the working strand hang freely and check whether it has accumulated extra twist or has started to untwist.
Some crocheters also find that the way yarn is pulled from the center or outside of a ball affects how the strand behaves. The important point isn't that one feeding method is universally correct—it's to notice which direction keeps your particular yarn behaving consistently.
If the yarn behaves better when pulled from the outside of the ball, use that method.
If the center pull works perfectly, there's no reason to change it.
7. Turn Your Hook Slightly as You Pull Through
You don't need to perform a complicated wrist rotation for every stitch.
But hook orientation matters.
When pulling a loop through a tight stitch, try keeping the hook opening positioned so that it catches the yarn cleanly rather than presenting the sharpest part of the hook toward the surrounding plies.
Think about the movement as:
Insert → catch yarn → rotate naturally → pull through
rather than:
Insert → pull aggressively
This becomes automatic with practice.
If you watch an experienced crocheter closely, you'll often notice that the hook isn't held completely still throughout the stitch.
That small movement helps the yarn travel smoothly through the stitch.
What to Do When You Split the Yarn Mid-Stitch
Even with perfect technique, you'll eventually split a strand.
Don't panic.
If you've caught only part of the yarn, don't simply continue and hope nobody notices.
Instead:
Stop pulling the loop tighter.
Carefully loosen the stitch.
Remove the hook.
Separate the split strands if necessary.
Undo the stitch.
Reinsert your hook through the correct part of the stitch.
Pull the complete yarn strand through.
Trying to “fix” the split by tightening the stitch usually makes the mistake more noticeable.
For visible crochet—especially amigurumi, garments, and textured stitches—it's usually worth correcting it immediately.
How to Tell If the Yarn Is the Problem or Your Technique
Here's a quick test.
Take the same yarn and make a small swatch.
Test A: Change nothing
Use your normal hook and normal tension.
Count how often you split the yarn.
Test B: Change your hook
Keep the same yarn and tension but use a different hook with a smoother or more rounded head.
If splitting drops dramatically, your hook shape may be contributing.
Test C: Relax your tension
Use the original hook but consciously loosen your grip.
If splitting decreases, tension was probably part of the problem.
Test D: Try different yarn
Use the same hook and technique with a smooth, tightly plied yarn.
If the splitting almost disappears, the original yarn is probably simply more difficult to work with.
This little experiment is much more useful than immediately buying an expensive hook set.
Does Cotton Yarn Split More Than Acrylic?
It depends on the specific yarn construction.
It's tempting to say “cotton splits” or “acrylic doesn't split,” but fiber content alone doesn't tell the whole story.
Two cotton yarns can behave completely differently.
A tightly twisted cotton may glide through your stitches beautifully, while a loosely plied cotton can separate easily.
The same is true for acrylic.
Ply, twist, surface texture, and construction can be just as important as the fiber itself.
That's why experienced crocheters often talk about whether a particular yarn is “splitty” rather than simply saying that an entire fiber category is difficult.
What Is the Best Yarn for Crochet If You Hate Splitting?
If your main goal is easy, clean crochet, start with a smooth yarn that has a firm, consistent construction.
For beginners, a smooth worsted-weight acrylic is a practical choice because the stitches are easy to see and the yarn is generally affordable and easy to handle.
For amigurumi, tightly constructed cotton is popular because it gives crisp stitch definition, although some cotton yarns can still split if they're loosely plied.
The goal isn't to find a magical “non-splitting yarn.”
It's to find a yarn whose construction works well with your crochet style.
Why Is My Yarn Splitting Only on Certain Stitches?
This is another common mystery.
You may crochet hundreds of single crochet stitches perfectly and then suddenly struggle with a particular stitch.
That's often because different stitches require different insertion angles and movements.
Long stitches can also involve more pulling and manipulation than simple stitches.
For example, if your yarn splits mostly when making:
Treble crochet
Double crochet
Front-post stitches
Back-post stitches
Puff stitches
Bobbles
Clusters
pay attention to where the hook enters and how you pull the yarn through.
Don't just focus on the yarn.
The movement required by the stitch itself may be exposing the problem.
A Quick Yarn-Splitting Checklist
Before replacing your entire crochet setup, run through this list:
Is the yarn loosely plied?
→ Try a firmer, more tightly constructed yarn.
Is your hook unusually sharp?
→ Test a smoother or more rounded hook.
Are your stitches extremely tight?
→ Relax your tension or test a larger hook.
Are you crocheting very quickly?
→ Slow down and watch the hook insertion point.
Does the yarn become increasingly untwisted?
→ Check how you're feeding and handling the strand.
Does another hook work better?
→ Keep using the hook shape that behaves best.
Does another yarn work better?
→ The original yarn may simply be more prone to splitting.
Are you splitting only certain stitches?
→ Examine your insertion angle and pull-through motion.
The Real Secret to Preventing Yarn Splitting
You don't need a complicated technique.
Most yarn-splitting problems come down to getting the yarn, hook, tension, and movement to cooperate.
Start with the easiest changes first:
1. Slow down.
2. Relax your tension.
3. Check where your hook is entering.
4. Try a smoother hook.
5. Test a slightly larger hook.
6. If the yarn is still fighting you, change the yarn.
And don't blame yourself for every split.
Some yarns are simply more prone to separating because of how they're spun or constructed. If you've tried different hooks and relaxed your technique and the yarn still constantly splits, choosing a different yarn may be the smartest solution—not forcing yourself to “master” a difficult skein.
AlbaCrochet Tip 🧶
Before buying a new hook set, make a tiny swatch with the yarn that's giving you trouble. Then test the same yarn with one different hook.
If the splitting suddenly disappears, you've just identified the problem without spending much money.
Sometimes the best crochet troubleshooting tool is simply a five-minute experiment.
Ready for Cleaner Crochet?
The right yarn and hook combination can make your stitches dramatically easier to control.
At AlbaCrochet, you'll find beginner-friendly crochet patterns and digital guides designed to make tricky techniques easier to understand—with clear instructions, helpful visuals, and practical tips you can actually use while you're holding the hook.
Next Steps
Continue Learning
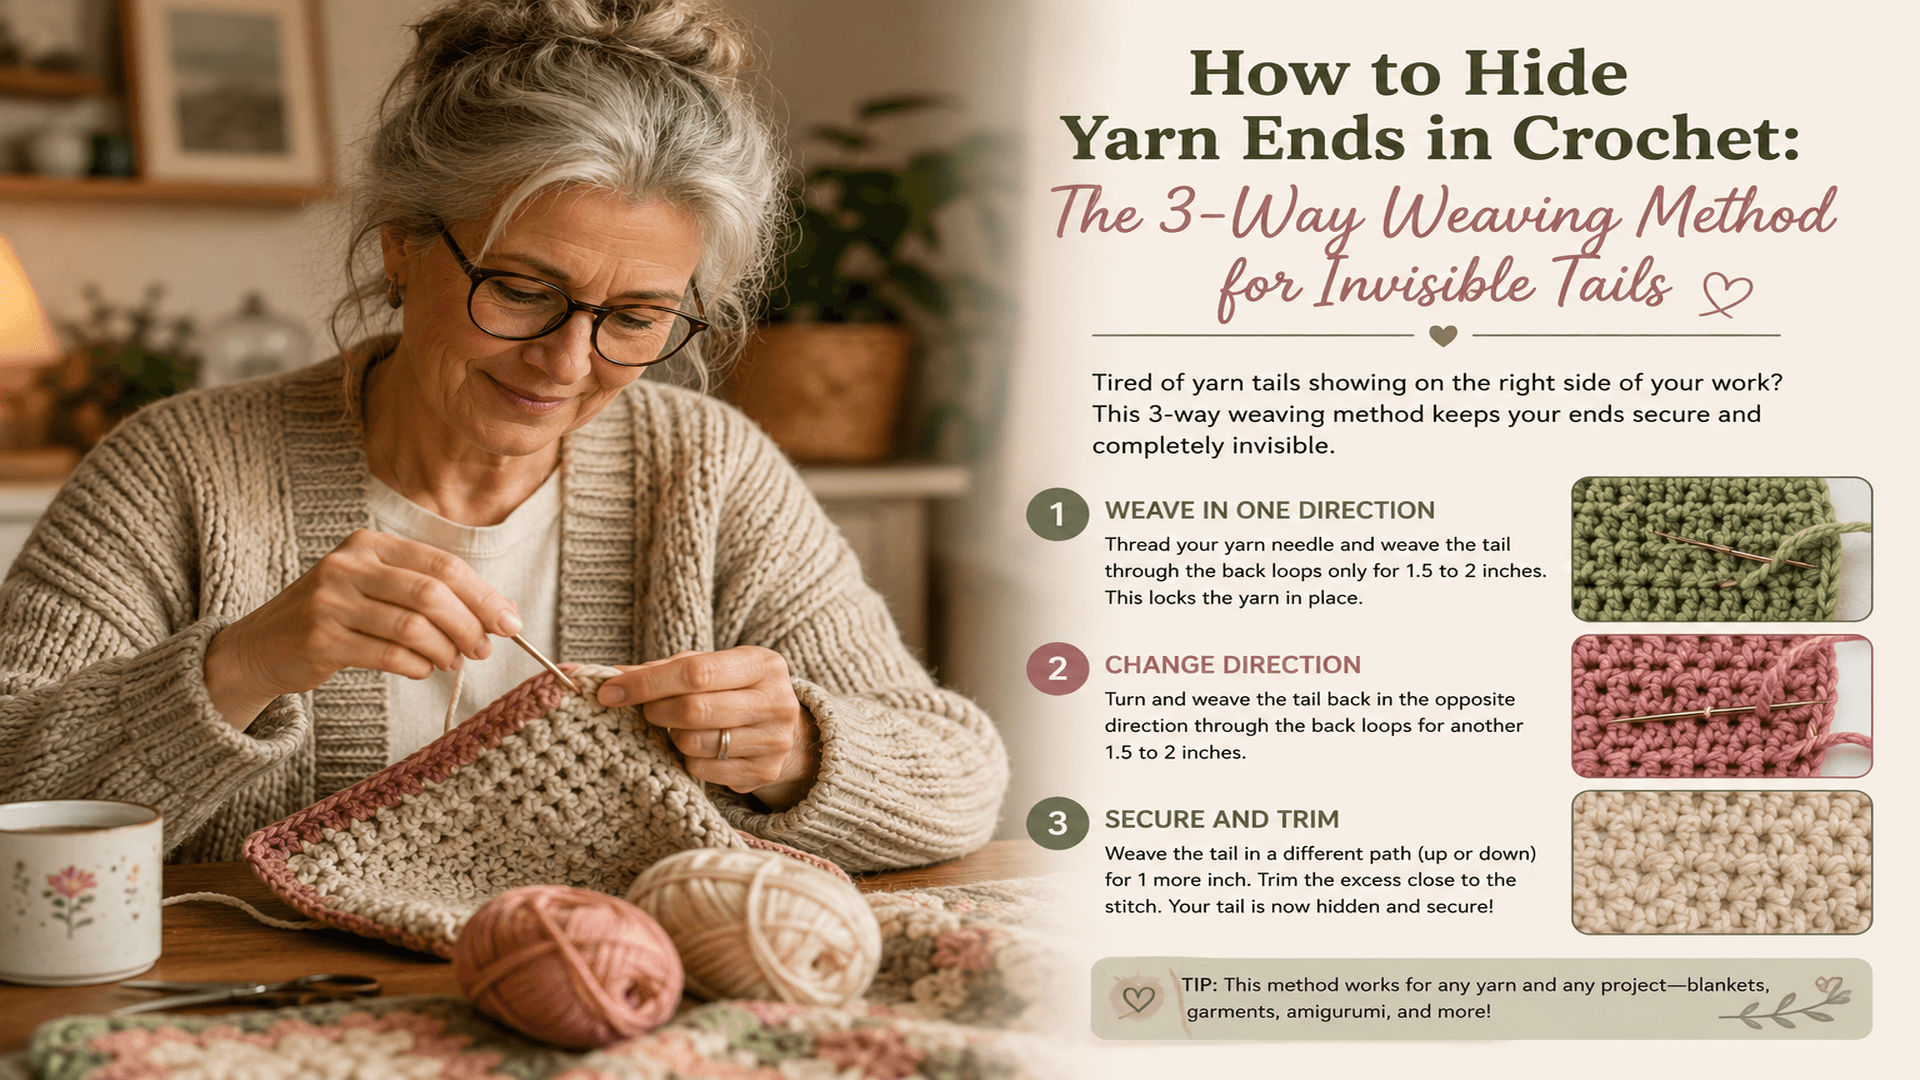
How to Hide Yarn Ends in Crochet: A Simple Method for Secure, Invisible Finishing
Few things make a finished crochet project look less polished than loose yarn tails sticking out of the back. Whether you are finishing a blanket, joining granny squares, changing colors, or completing an amigurumi piece, knowing how to weave in crochet ends is one of those small skills that makes a huge difference. The good news is that you do not need complicated knots or special equipment. With a tapestry needle, a few inches of yarn, and the right weaving path, you can secure most crochet yarn tails neatly inside the fabric. The key is not simply hiding the end. You want to make it difficult for the tail to work its way back out when the project is stretched, handled, or washed. One of the most reliable approaches is to weave the yarn in one direction, reverse the path, and then make a final pass through a different section of the stitches. Changing direction creates additional friction and helps keep the tail in place.
Read tutorial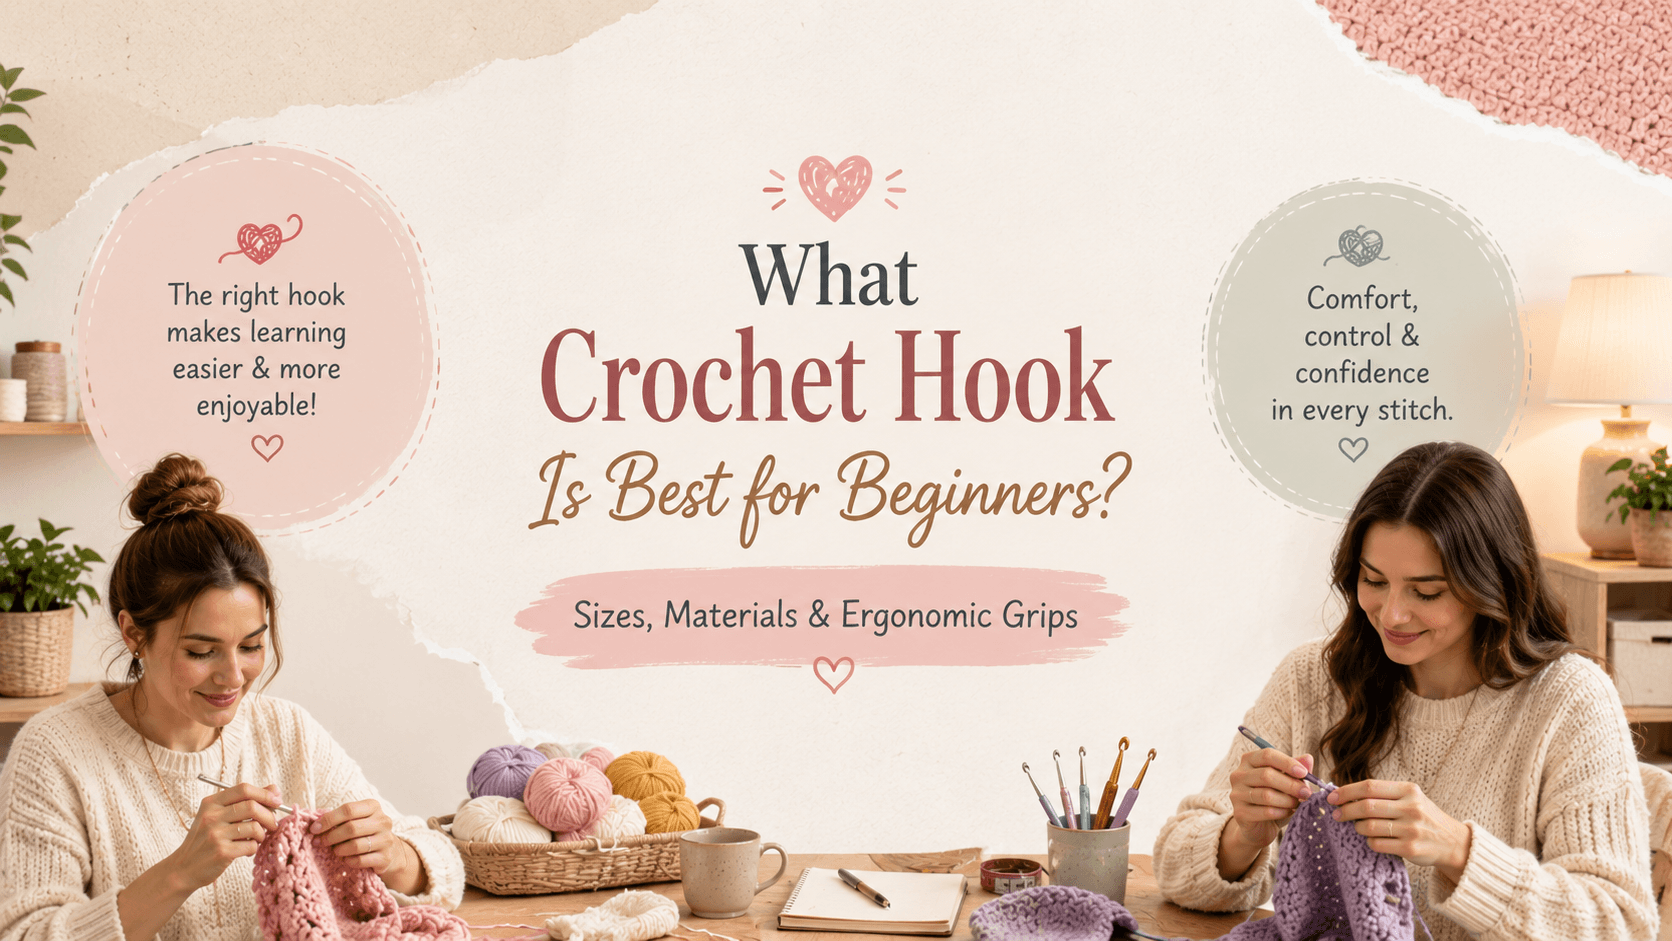
What Crochet Hook Is Best for Beginners? Sizes, Materials & Ergonomic Grips
If you’re learning how to crochet, choosing your first hook can feel surprisingly confusing. There are aluminum hooks, plastic hooks, bamboo hooks, ergonomic crochet hooks, inline hooks, tapered hooks—and then there are all those numbers: 3.5 mm, 4 mm, 5 mm, 5.5 mm, 6 mm… So what is actually the best crochet hook for beginners? For most people, a 5 mm or 5.5 mm crochet hook paired with medium-weight yarn is an excellent place to start. These sizes are large enough to make your stitches easy to see without being awkward to control. A smooth metal hook is also a practical choice, while an ergonomic handle can make longer practice sessions more comfortable. But there isn't one perfect crochet hook for everyone. Your yarn, hand position, tension, and personal comfort all matter. Here's how to choose a beginner crochet hook without buying an entire collection before you've even learned your first stitch.
Read tutorial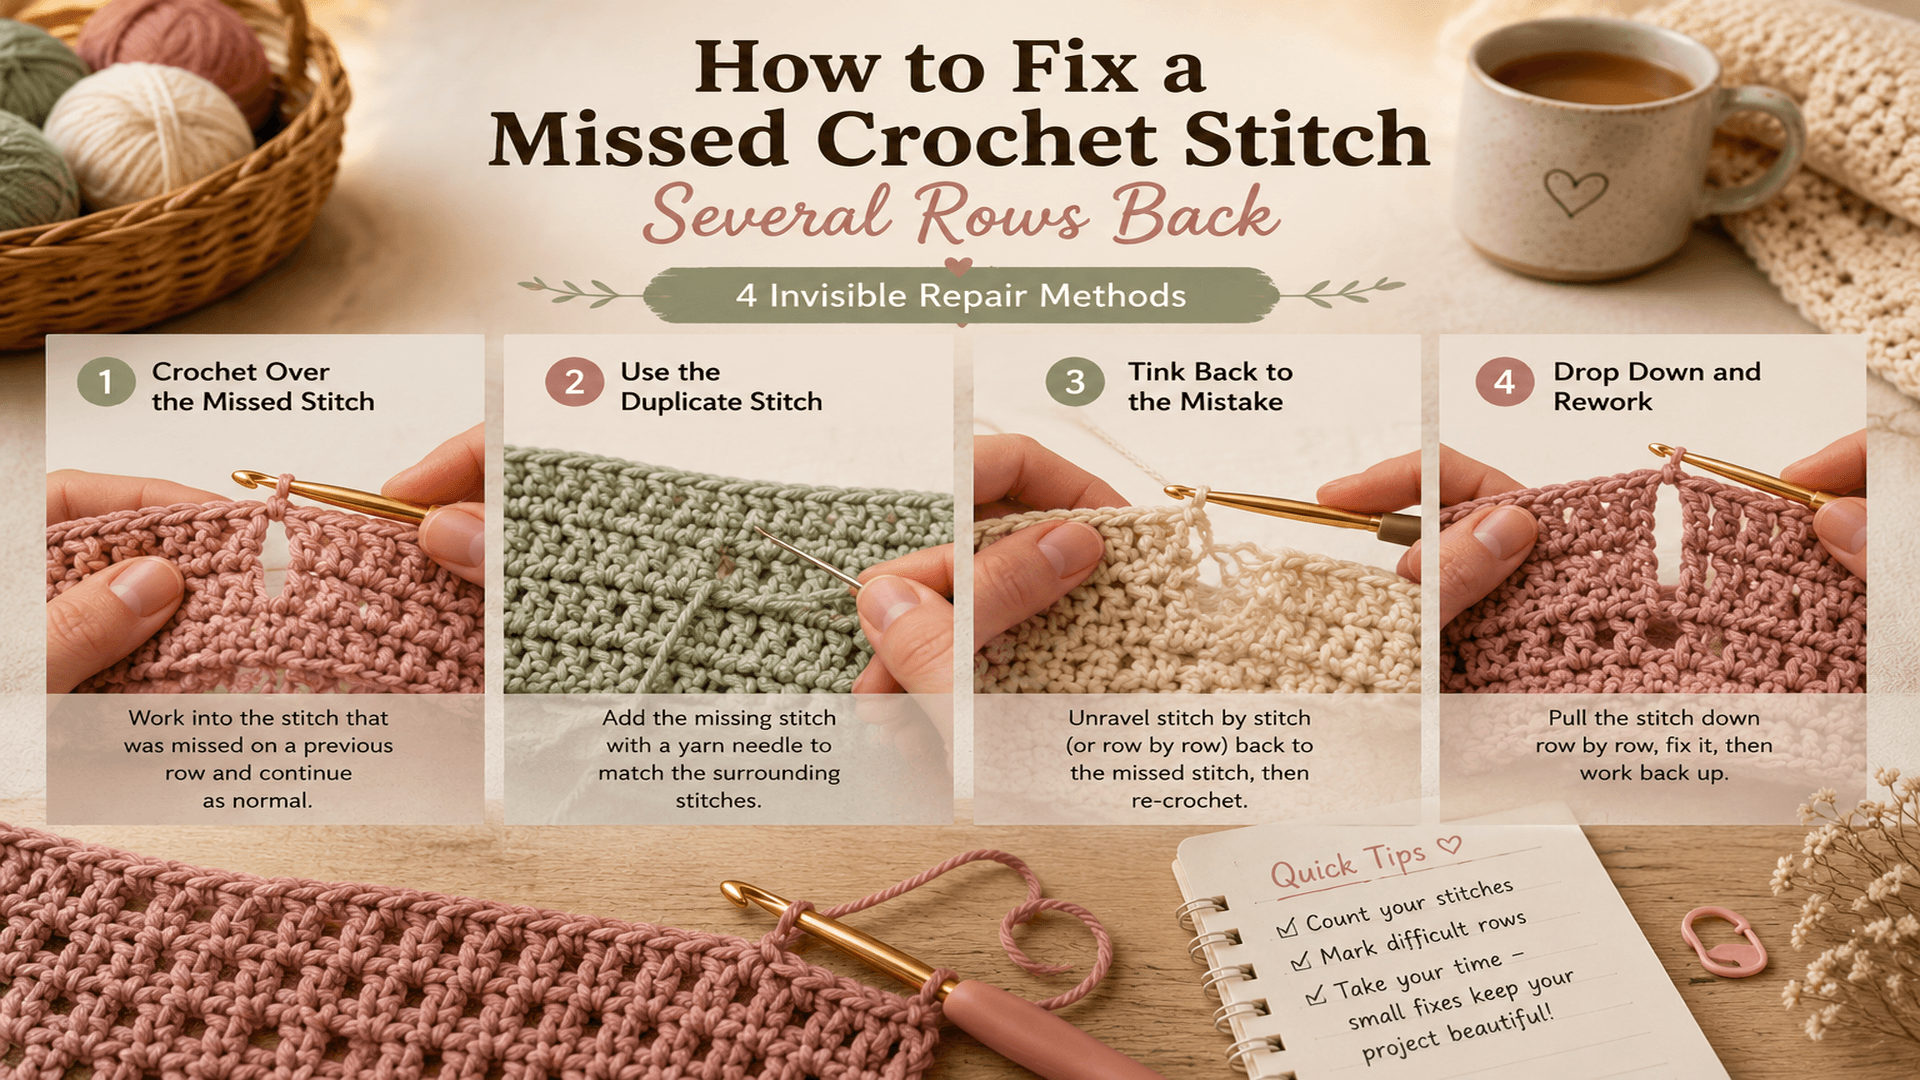
How to Fix a Missed Crochet Stitch Several Rows Back: 4 Ways to Repair Crochet Without Starting Over
Found a skipped crochet stitch several rows below your hook? Don't panic. A missed stitch can make your crochet look uneven, create a small hole, or throw off your stitch count—but you don't always have to unravel the entire project. In this guide, you'll learn how to fix a missed crochet stitch, when it's better to frog back to the mistake, and how to repair a small gap with a crochet hook or tapestry needle when undoing isn't practical.
Read tutorialReady to make something?
Put your new skills to use with our free pattern collection.