Why Is My Crochet Curling? 7 Real Causes (and How to Fix Each One)
If you've pulled your work off the hook only to watch the edges roll inward like a scroll, you've probably typed the same frustrated question into Google that thousands of crocheters type every week: why is my crochet curling? The good news is that curling isn't a sign you're "bad" at crochet. It's one of the most common issues in the craft, and it almost always comes down to a handful of fixable causes — tension, hook size, stitch choice, or the yarn itself. Below, we'll break down exactly why is my crochet curling, and what to do about it, one cause at a time.
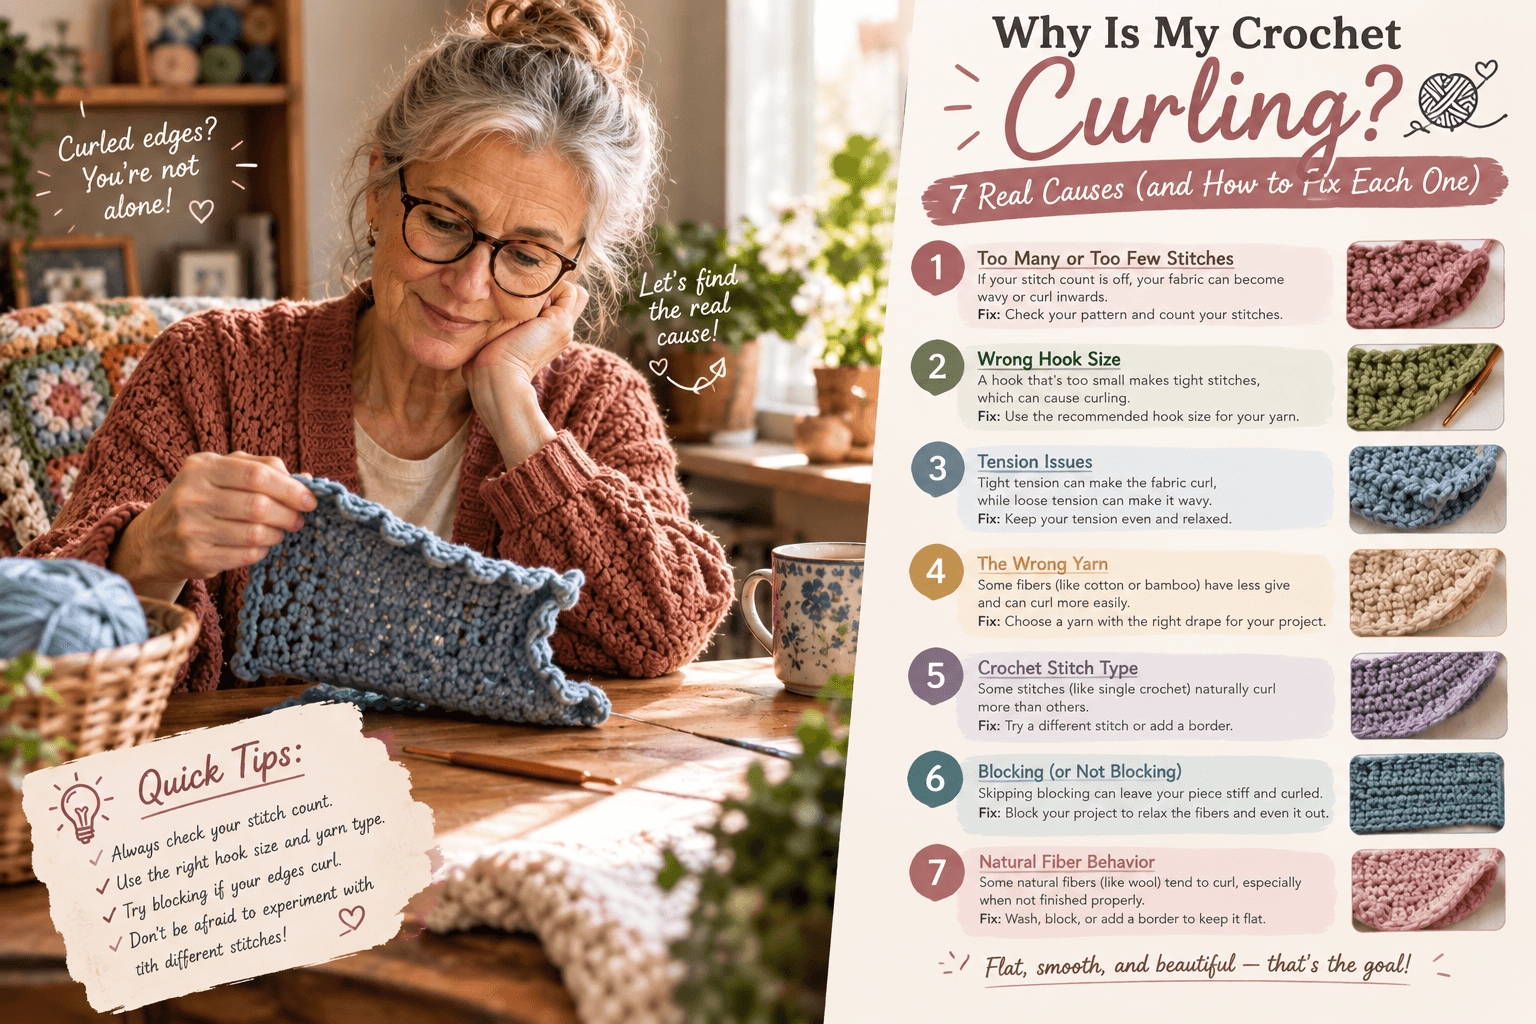
What Causes Crochet to Curl?
Before you rip out your project in frustration, it helps to understand that curling is a symptom, not a random accident. Your fabric is a grid of interlocking loops, and when something in that grid is uneven — too tight, too loose, or structurally prone to twisting — the fabric pulls itself into a curve instead of lying flat. So when you ask why is my crochet curling, you're really asking which of these underlying forces is at play in your specific project.
Here are the seven most common culprits.
1. Your Tension Is Too Tight
This is, by far, the number one answer to why is my crochet curling. When your stitches are pulled too tight, the fabric can't relax into its natural shape, so the edges bunch and roll inward. Tight tension also makes your hands ache and can eat through more yarn than a pattern calls for.
Fix it: Try sizing up your hook by half a millimeter. This gives your stitches a little more breathing room without changing how you crochet. Making a quick gauge swatch before starting a big project is also a smart habit — it's far less painful to fix tension on a 4-inch square than on a half-finished blanket.
2. Your Foundation Chain Is Too Tight
A lot of curling starts before you've even worked your first row. If your starting chain is tighter than the rest of your stitches, that bottom edge won't stretch to match, and it pulls the whole piece into a curve.
Fix it: Use a hook one size larger just for your foundation chain, then switch back to your regular hook for the rest of the project. Some crocheters also like using a stretchier foundation method, like the chainless foundation single crochet, to avoid this altogether.
3. Wrong Hook Size for Your Yarn
Using a hook that's too small for your yarn weight creates dense, stiff fabric that wants to curl at the edges. This is especially common when crocheters swap yarn brands but keep the hook size the pattern originally called for.
Fix it: Check the yarn label for its recommended hook size range, and don't be afraid to go up a size if your fabric feels stiff or board-like.
4. Inconsistent Stitch Counts
If you accidentally add or drop a stitch here and there, your rows stop matching in length. That mismatch shows up as curling, waving, or a piece that quietly turns into a trapezoid instead of a rectangle.
Fix it: Count your stitches at the end of every row for the first several rows of a new pattern until the stitch count becomes second nature. A stitch marker at the start of each row makes this much faster.
5. Working in Continuous Rounds (Increases Stacking)
Crocheting in the round — like for hats, circles, or amigurumi — has its own version of curling. If your increases land in the same spot round after round instead of being staggered, they "stack" on top of each other, and the extra fabric in that one area makes the whole piece cup or dome instead of lying flat.
Fix it: Follow your pattern's increase placement carefully, and if you're designing your own circle, stagger the increase points by one stitch in every round.
6. Yarn Ply and Twist Memory
Sometimes the answer to why is my crochet curling has nothing to do with your technique at all — it's the yarn itself. Yarn is made by twisting fibers together, and some yarns (especially single-ply, cotton, or twine-like fibers) have a strong "memory" of that twist. That built-in torque can make finished fabric twist even when your tension and stitch count are perfect.
Fix it: There's not much you can do mid-project besides blocking (more on that below), but for future projects, choose a plied yarn if curling is a recurring problem for you.
7. Certain Stitches Naturally Curl
Some stitches are simply more prone to curling than others, regardless of how well you crochet them. Single crochet worked in rows is a common offender, and in Tunisian crochet, the Simple Stitch, Full Stitch, and Knit Stitch are all notoriously curl-prone — it's a known quirk of the stitch structure, not a mistake you're making.
Fix it: If you know you're using a curl-prone stitch, plan for it from the start. A border of double crochet or a few rows of a firmer stitch pattern around the edges can counteract the pull.
How to Fix Crochet That's Already Curling
If your project is already finished (or too far along to rip back), blocking is your best friend. Wet or steam block the piece: dampen it, pin it flat to the finished dimensions on a blocking board or towel, and let it dry completely before unpinning. This resets the fibers into a flatter shape and is often enough to calm mild curling, especially in blankets and garment pieces.
For pieces made with acrylic yarn, be gentle with steam blocking — too much heat can flatten stitch definition permanently. Test on a swatch first.
How to Prevent Curling Crochet in Future Projects
- Make a gauge swatch before starting anything sized or fitted
- Keep your foundation chain slightly looser than your working tension
- Match your hook size to your yarn weight (check the label)
- Count stitches regularly, especially in the first few rows
- Stagger increases when working in continuous rounds
- Choose plied yarn over single-ply if curling has been a repeat problem
- Plan a firm border stitch around curl-prone stitch patterns
FAQ: Why Is My Crochet Curling?
Is curling always a mistake? Not always. Some yarns and stitches curl by nature, even when your technique is flawless. Tension and stitch-count errors are the most common fixable causes, but yarn twist and stitch choice can curl a technically perfect piece.
Will blocking fix curling permanently? Blocking helps a lot, especially for natural fibers like cotton and wool, which hold a blocked shape well. Acrylic yarn can revert to curling over time or after washing, since it "remembers" its original shape more stubbornly.
Why does my amigurumi curl or cup instead of lying flat? This is almost always stacked increases. Check that your pattern staggers the increase stitches from round to round rather than placing them in the same spot each time.
Final Thoughts
So, why is my crochet curling? In nearly every case, it comes down to tension, hook size, stitch count, or the natural behavior of your stitch and yarn. None of these mean you're doing something wrong as a crocheter — they're just part of learning how fabric behaves under the hook. Work through the checklist above, block your finished pieces, and you'll spend a lot less time fighting curl and a lot more time enjoying the making.
Next Steps
Continue Learning
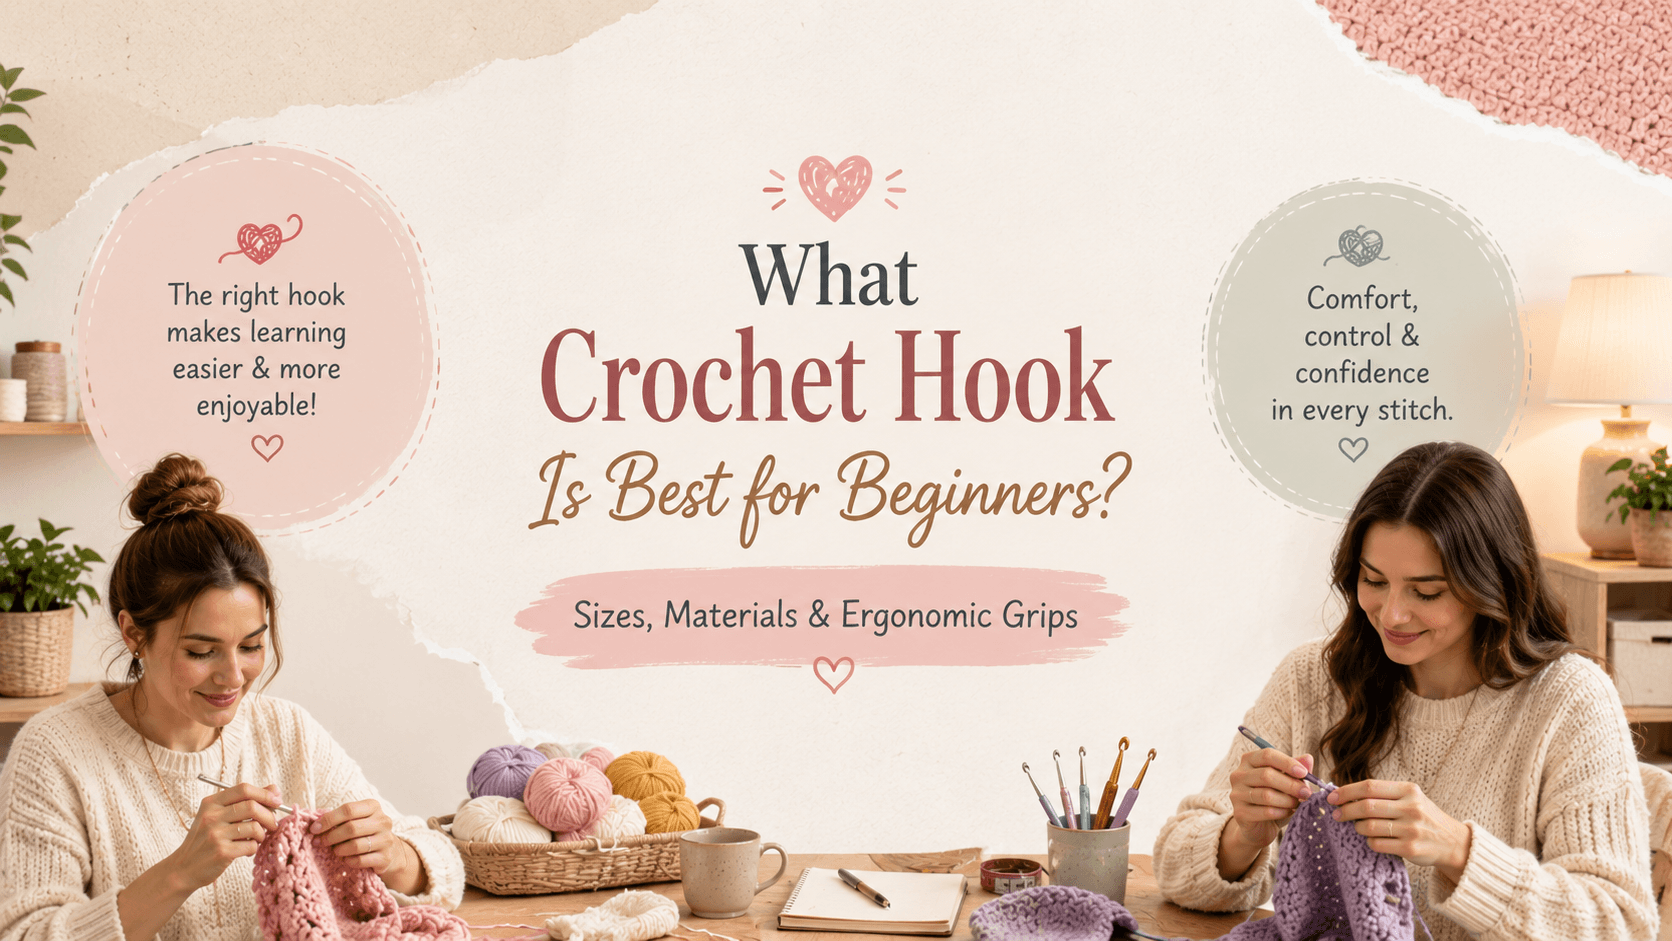
What Crochet Hook Is Best for Beginners? Sizes, Materials & Ergonomic Grips
If you’re learning how to crochet, choosing your first hook can feel surprisingly confusing. There are aluminum hooks, plastic hooks, bamboo hooks, ergonomic crochet hooks, inline hooks, tapered hooks—and then there are all those numbers: 3.5 mm, 4 mm, 5 mm, 5.5 mm, 6 mm… So what is actually the best crochet hook for beginners? For most people, a 5 mm or 5.5 mm crochet hook paired with medium-weight yarn is an excellent place to start. These sizes are large enough to make your stitches easy to see without being awkward to control. A smooth metal hook is also a practical choice, while an ergonomic handle can make longer practice sessions more comfortable. But there isn't one perfect crochet hook for everyone. Your yarn, hand position, tension, and personal comfort all matter. Here's how to choose a beginner crochet hook without buying an entire collection before you've even learned your first stitch.
Read tutorial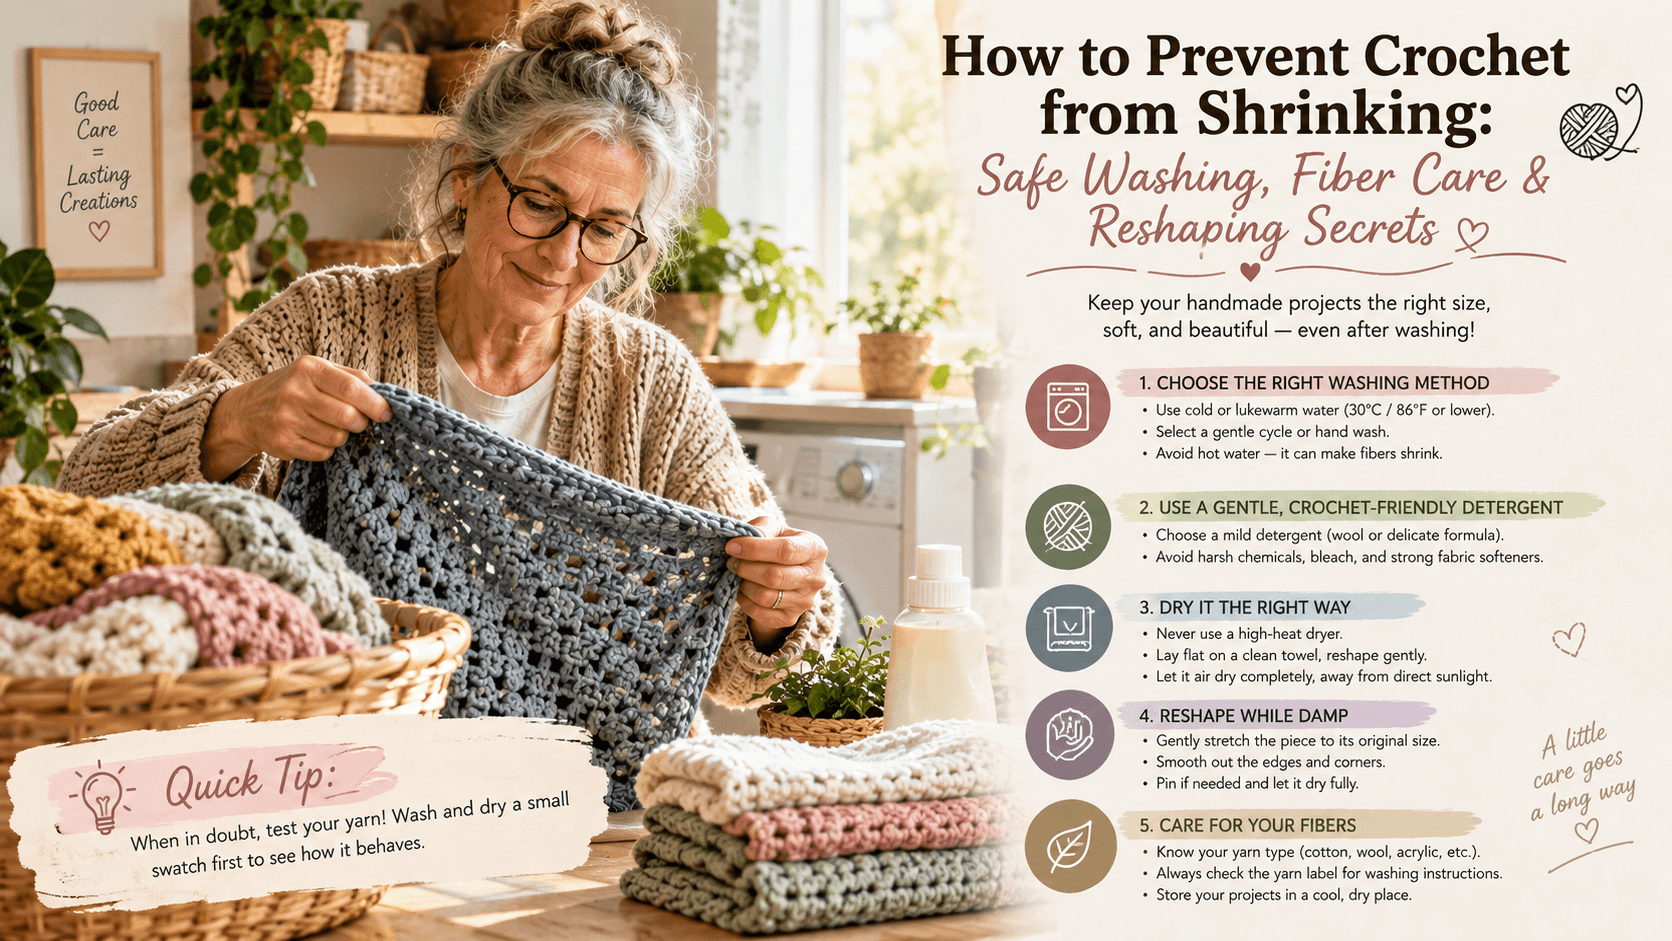
How to Prevent Crochet from Shrinking: How to Wash, Dry & Reshape Crochet Safely
You finally finish a crochet sweater, wash it for the first time—and suddenly the sleeves are shorter, the body feels tighter, or your beautiful blanket no longer has the same dimensions. If you've ever searched “how to prevent crochet from shrinking” or “how do I wash crochet without ruining it?”, the good news is that most problems can be avoided. The key is understanding that crochet doesn't have one universal washing method. Wool, cotton, acrylic, linen, bamboo, and blends can react very differently to water, heat, agitation, and drying. The safest approach is simple: Check the yarn's care instructions, use gentle washing methods, avoid unnecessary heat and agitation, and reshape the crochet while it dries. Here's how to do it.
Read tutorial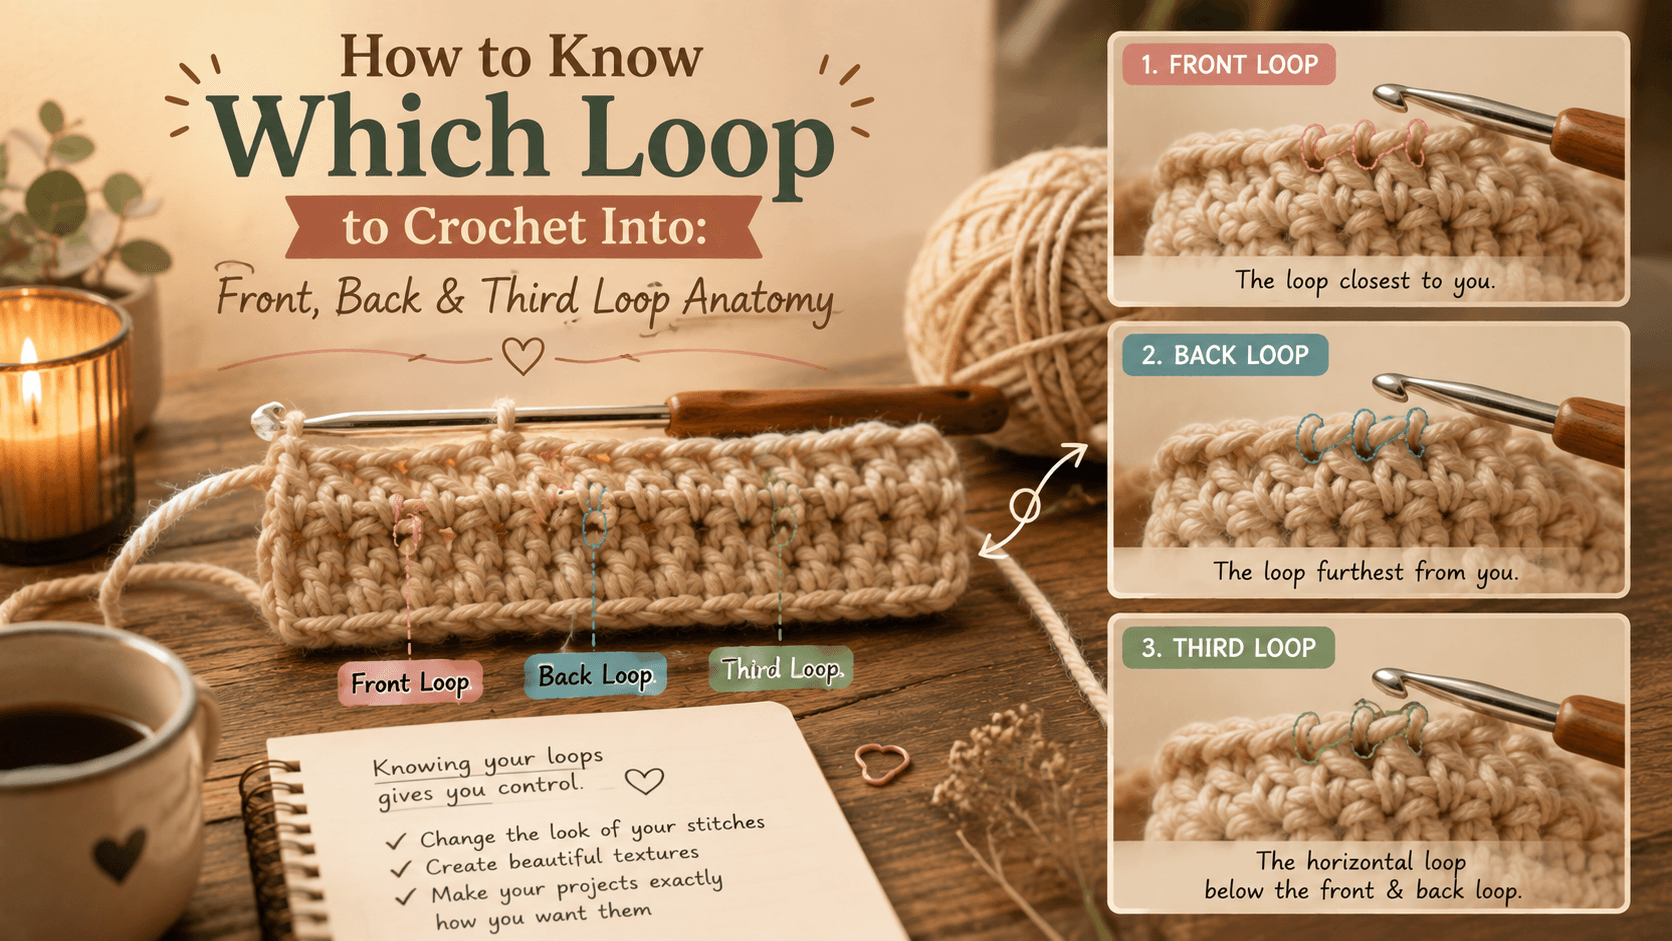
How to Know Which Loop to Crochet Into: Front, Back & Third Loop Guide
When you're learning crochet, one instruction can cause a surprising amount of confusion: “Work into the next stitch.” Which part of the stitch? The front loop? The back loop? Both loops? And where exactly is that mysterious third loop everyone keeps talking about? Understanding crochet loop anatomy makes patterns much easier to read. It also helps you intentionally create ribbing, ridges, texture, and different fabric effects instead of accidentally working into the wrong part of a stitch. In this guide, you'll learn which loop to crochet into, how to identify the front and back loops, where to find the third loop in half double crochet, and what happens when you choose one loop instead of another.
Read tutorial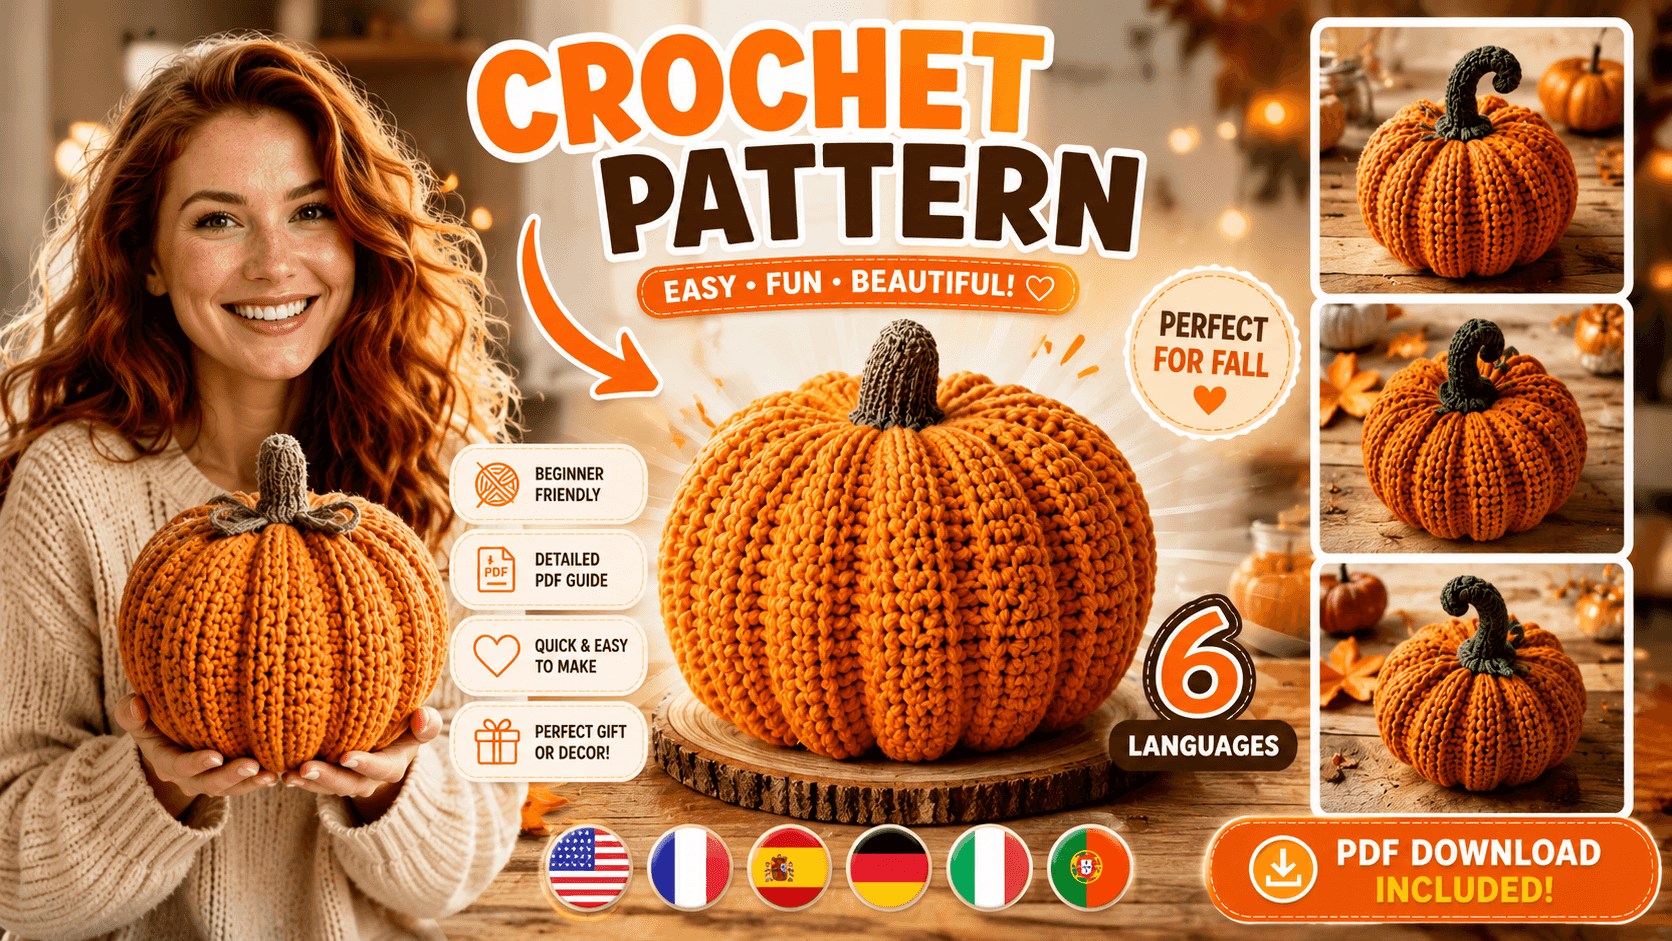
Put It Into Practice
Crochet Pumpkin Pattern | Halloween Pumpkin Amigurumi PDF | Fall Decor Crochet | Easy Pumpkin Pattern
Create cozy seasonal decor with this crochet pumpkin pattern! This easy amigurumi pumpkin PDF includes step-by-step instructions to crochet a charming pumpkin with a separate stem, perfect for Halloween decorations, fall home decor, Thanksgiving, farmhouse decor, and handmade gifts.
View the pattern →